I’ve never so much as bent a piece of metal before this project so getting from zero to making panels, the new heating system and various doublers has been interesting. Since I got her I’ve been looking up at a raggedy hole in the roof of the cabin where the NAV antenna used to be attached. It doesn’t look like there was ever a backing plate and certainly not the doubler it should have to support it. I decided to patch the original hole, using AC 43.13, and relocate the antenna.
Unfortunately I didn’t save the before picture but here’s a few along the way:
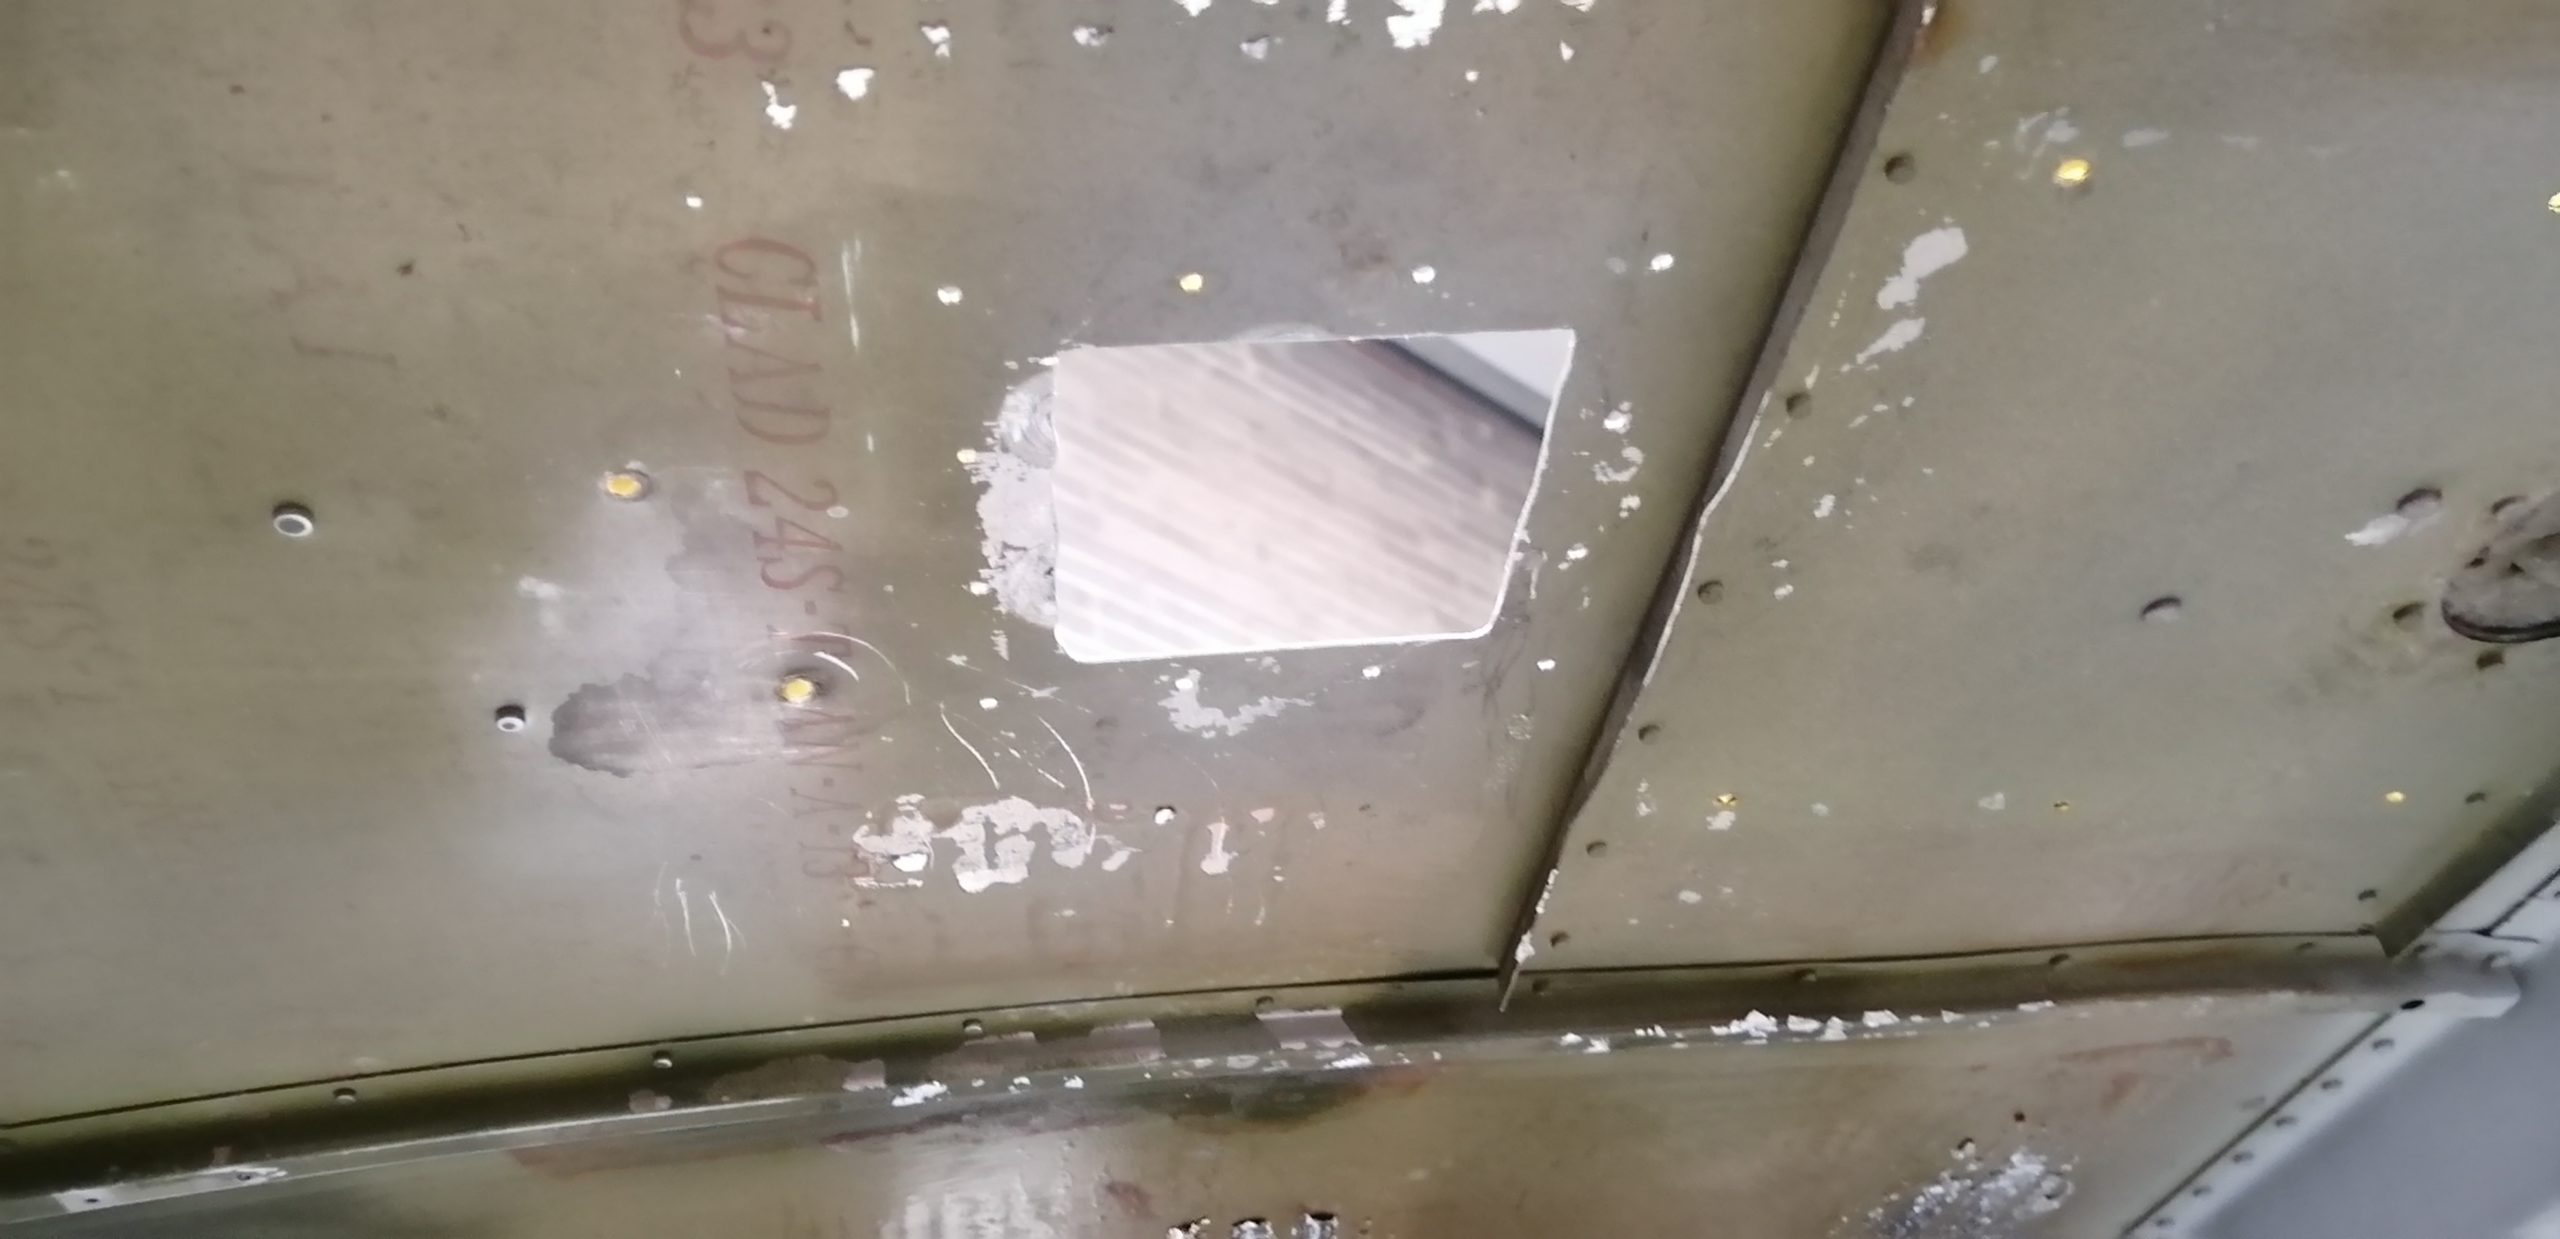
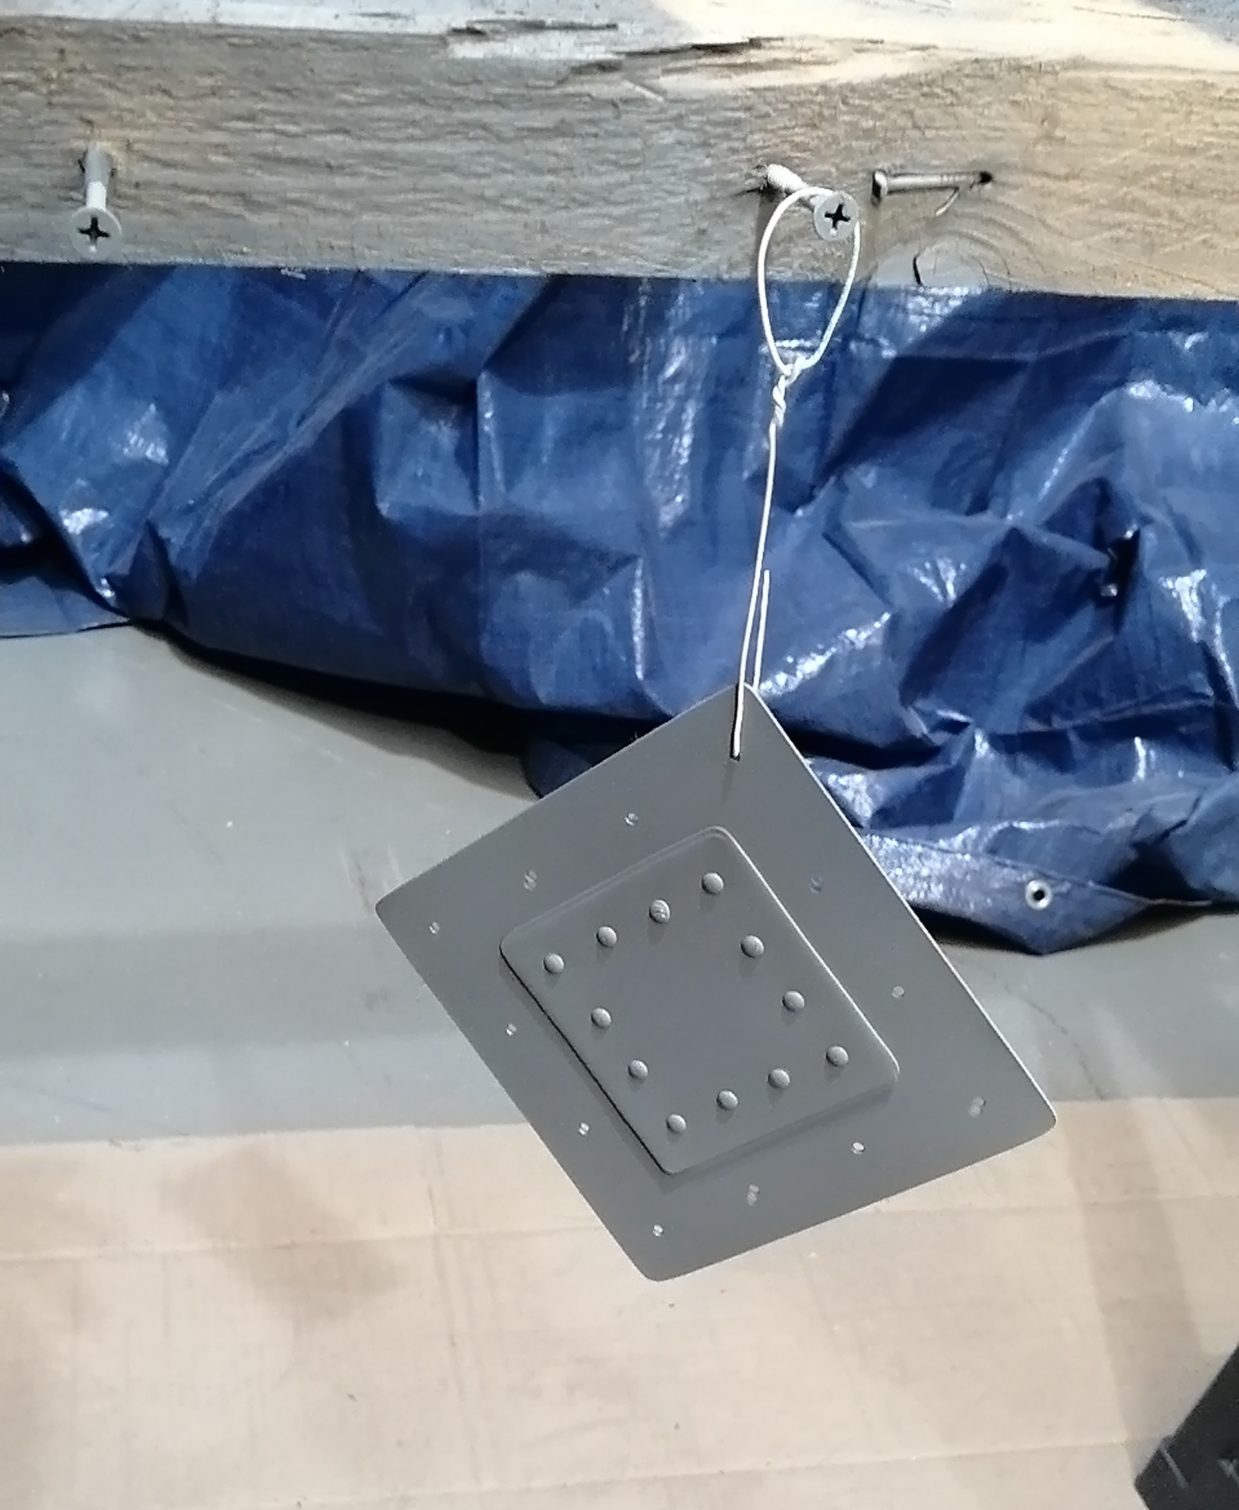
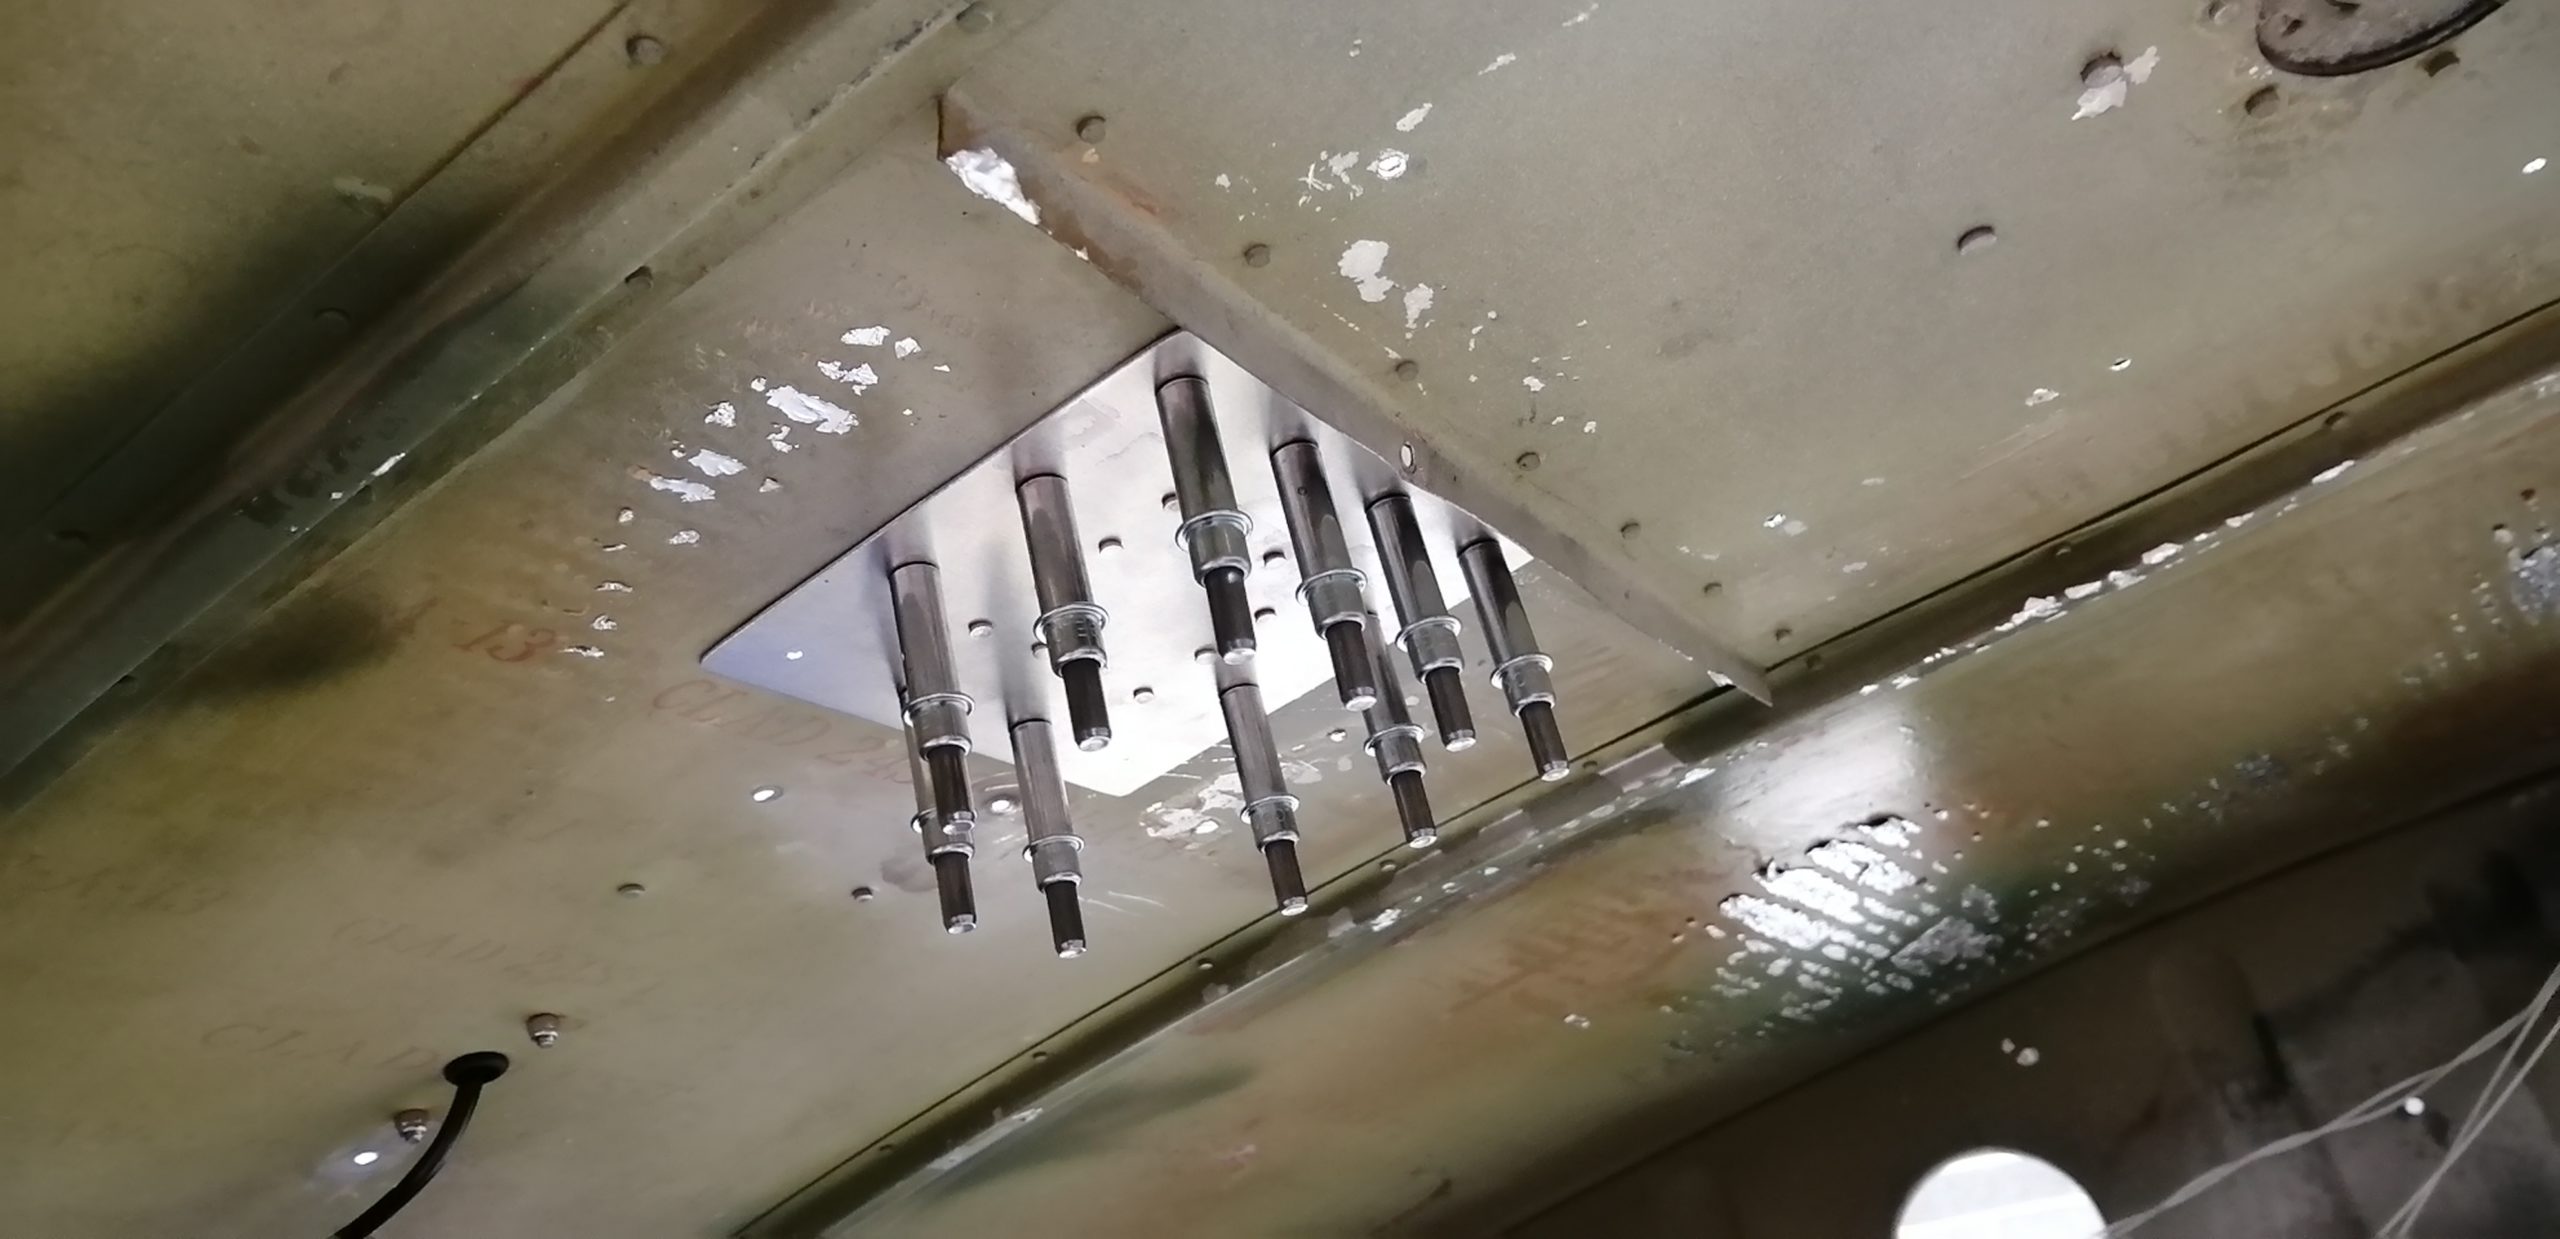
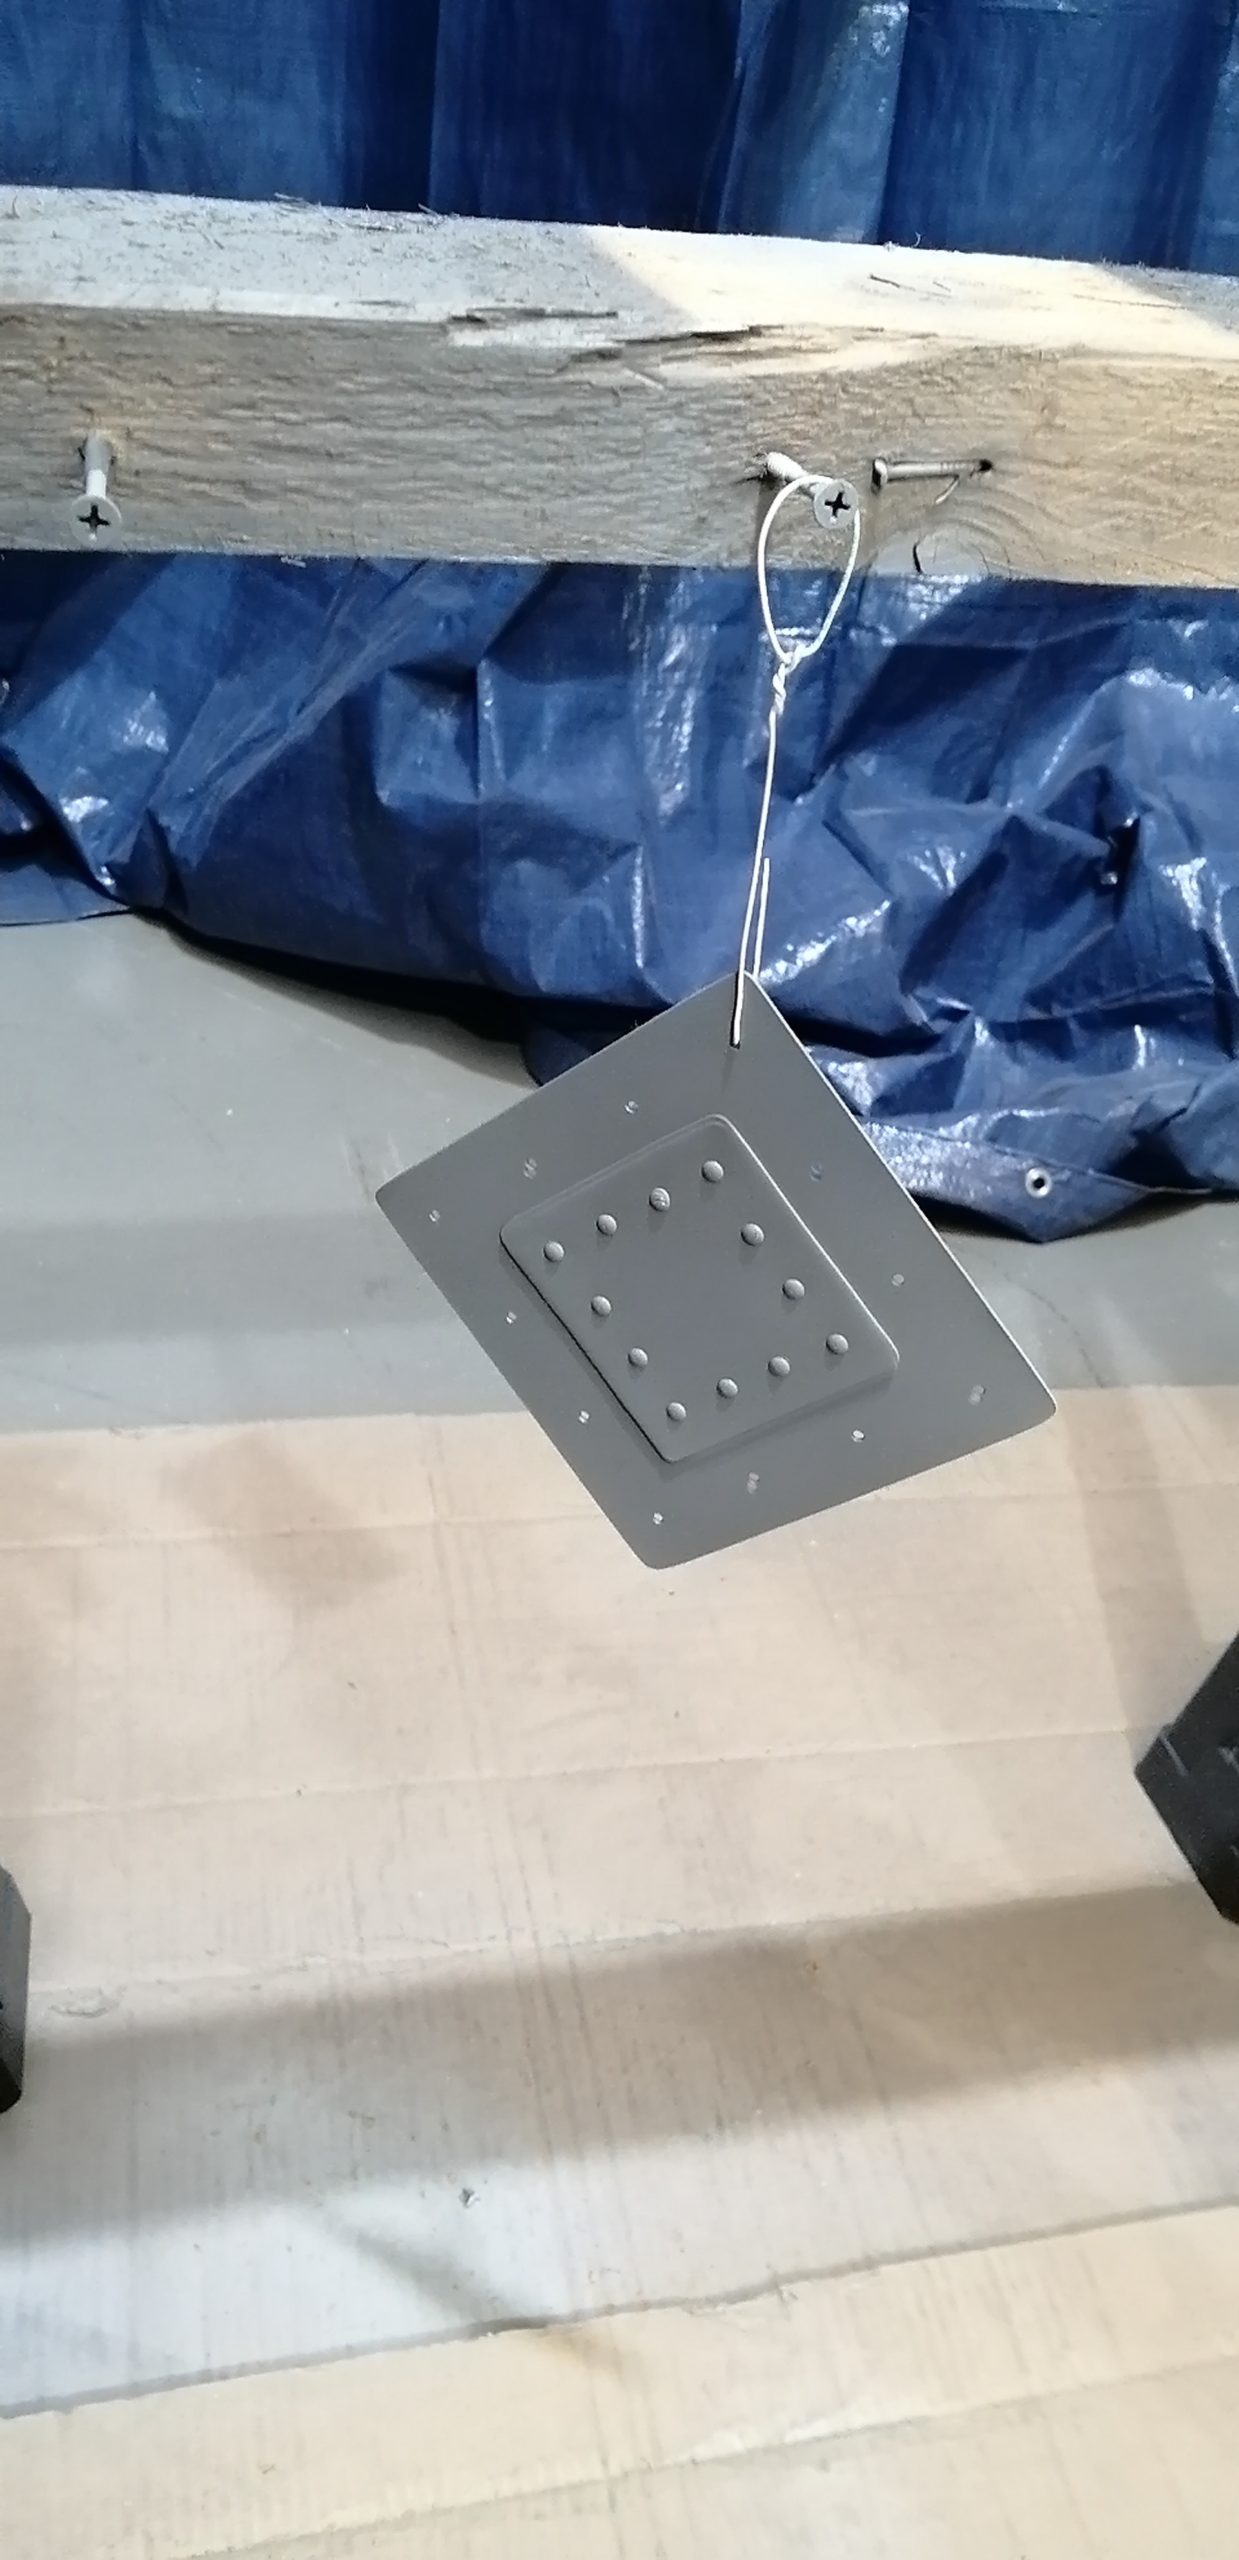
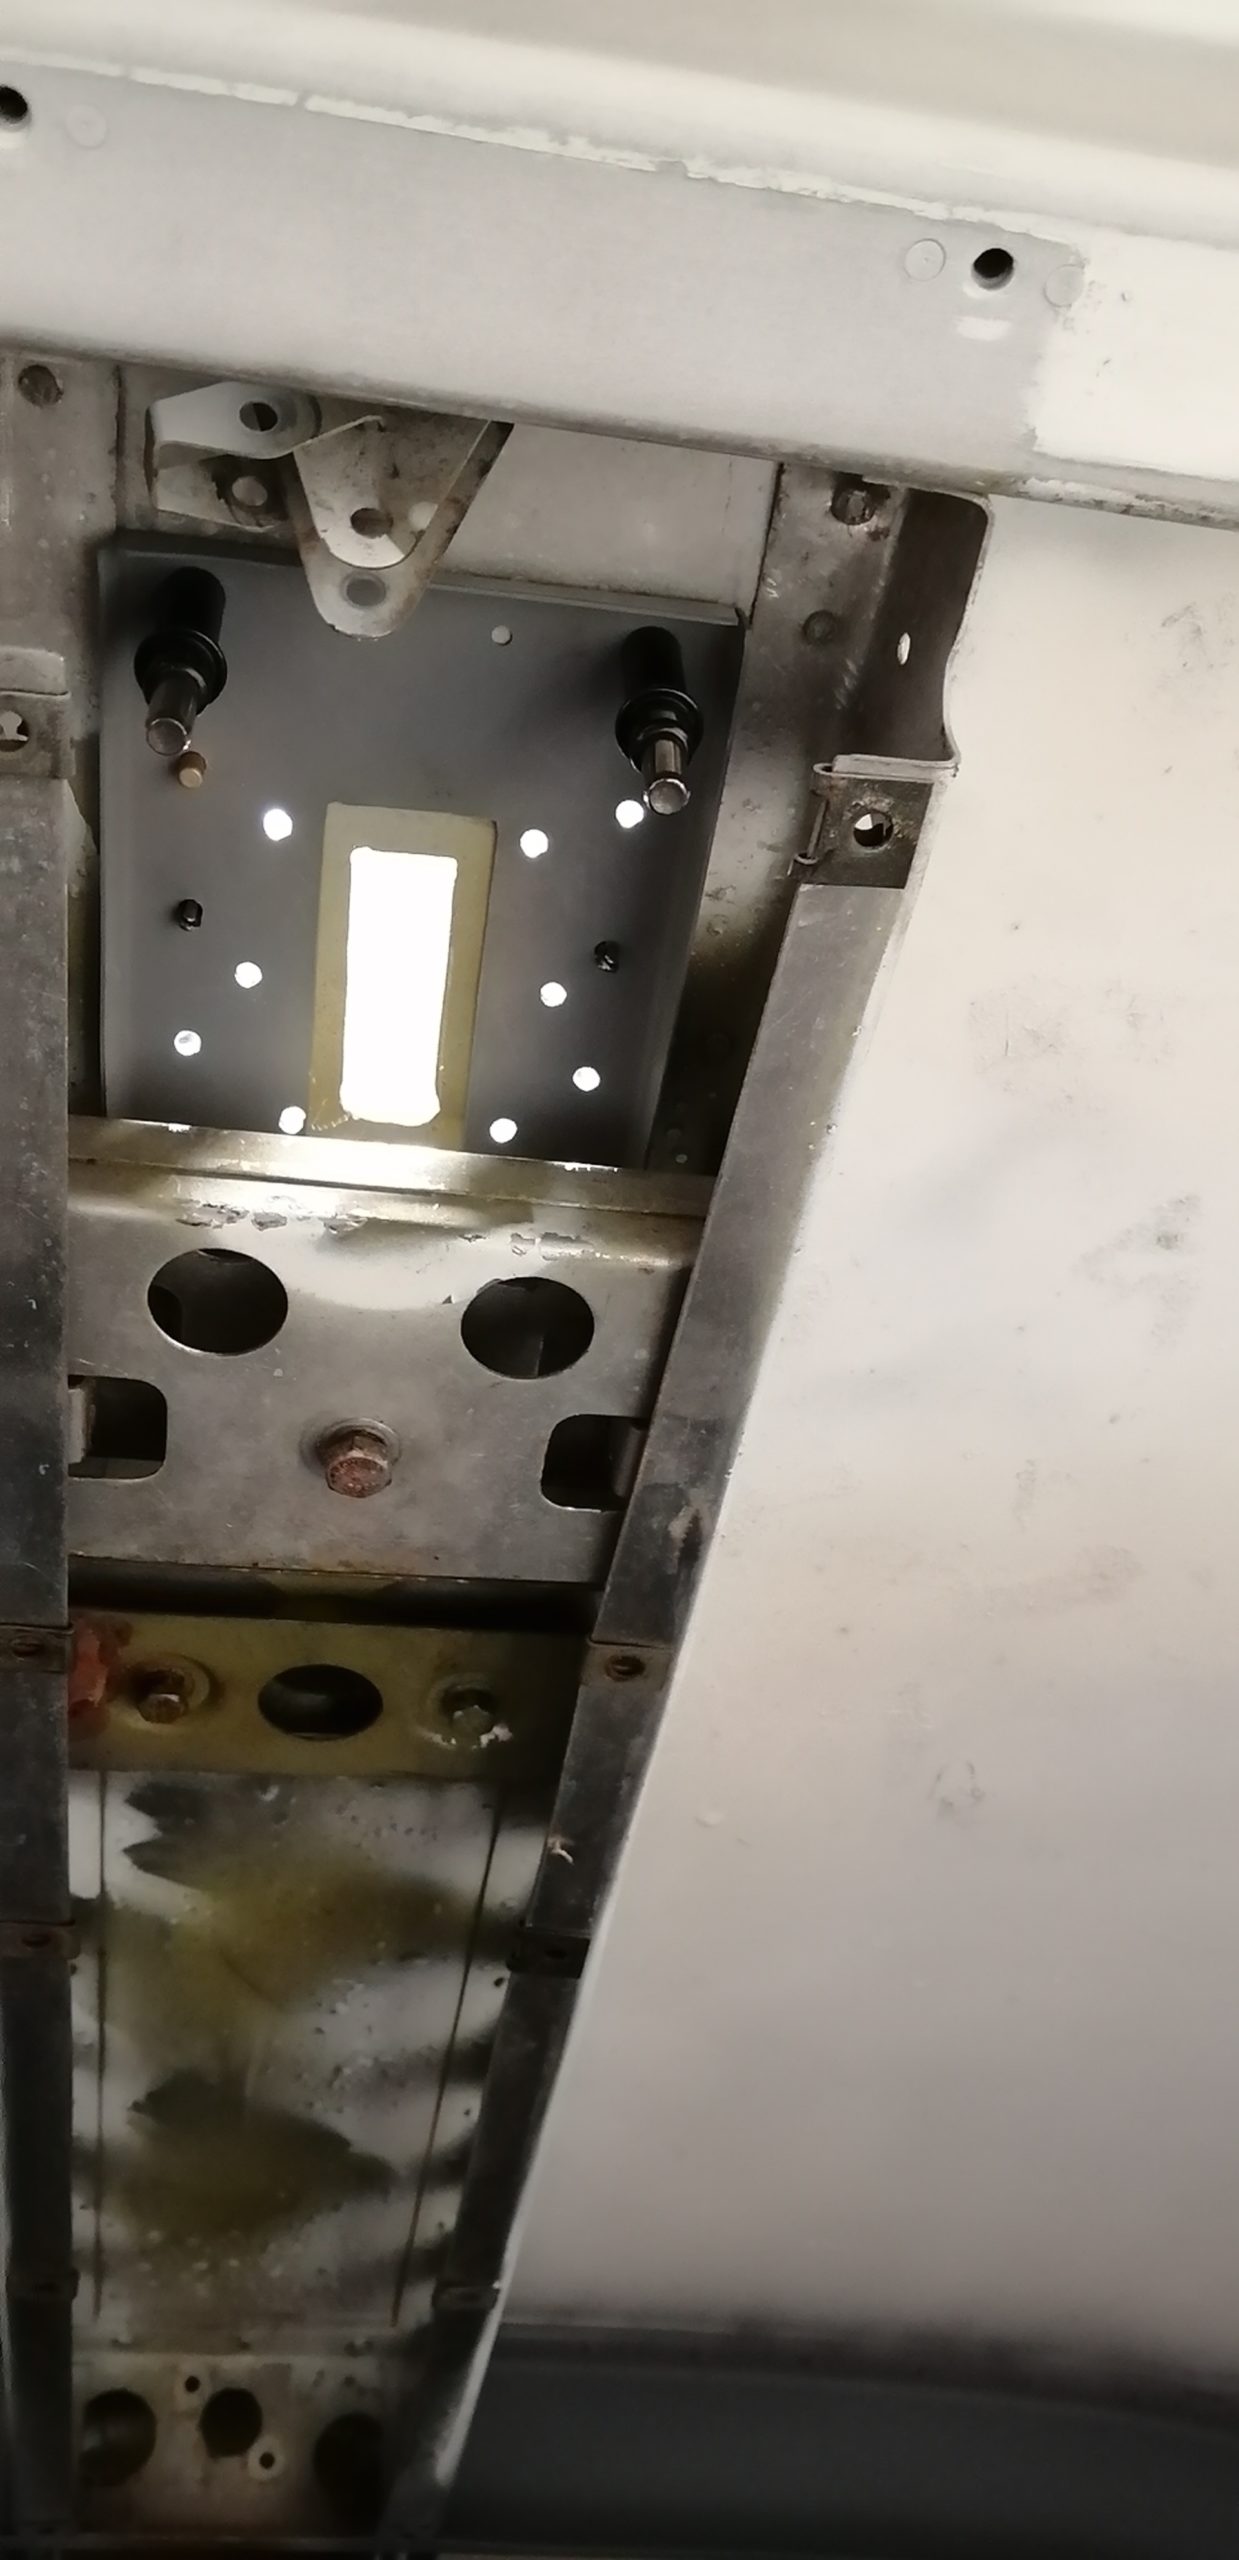
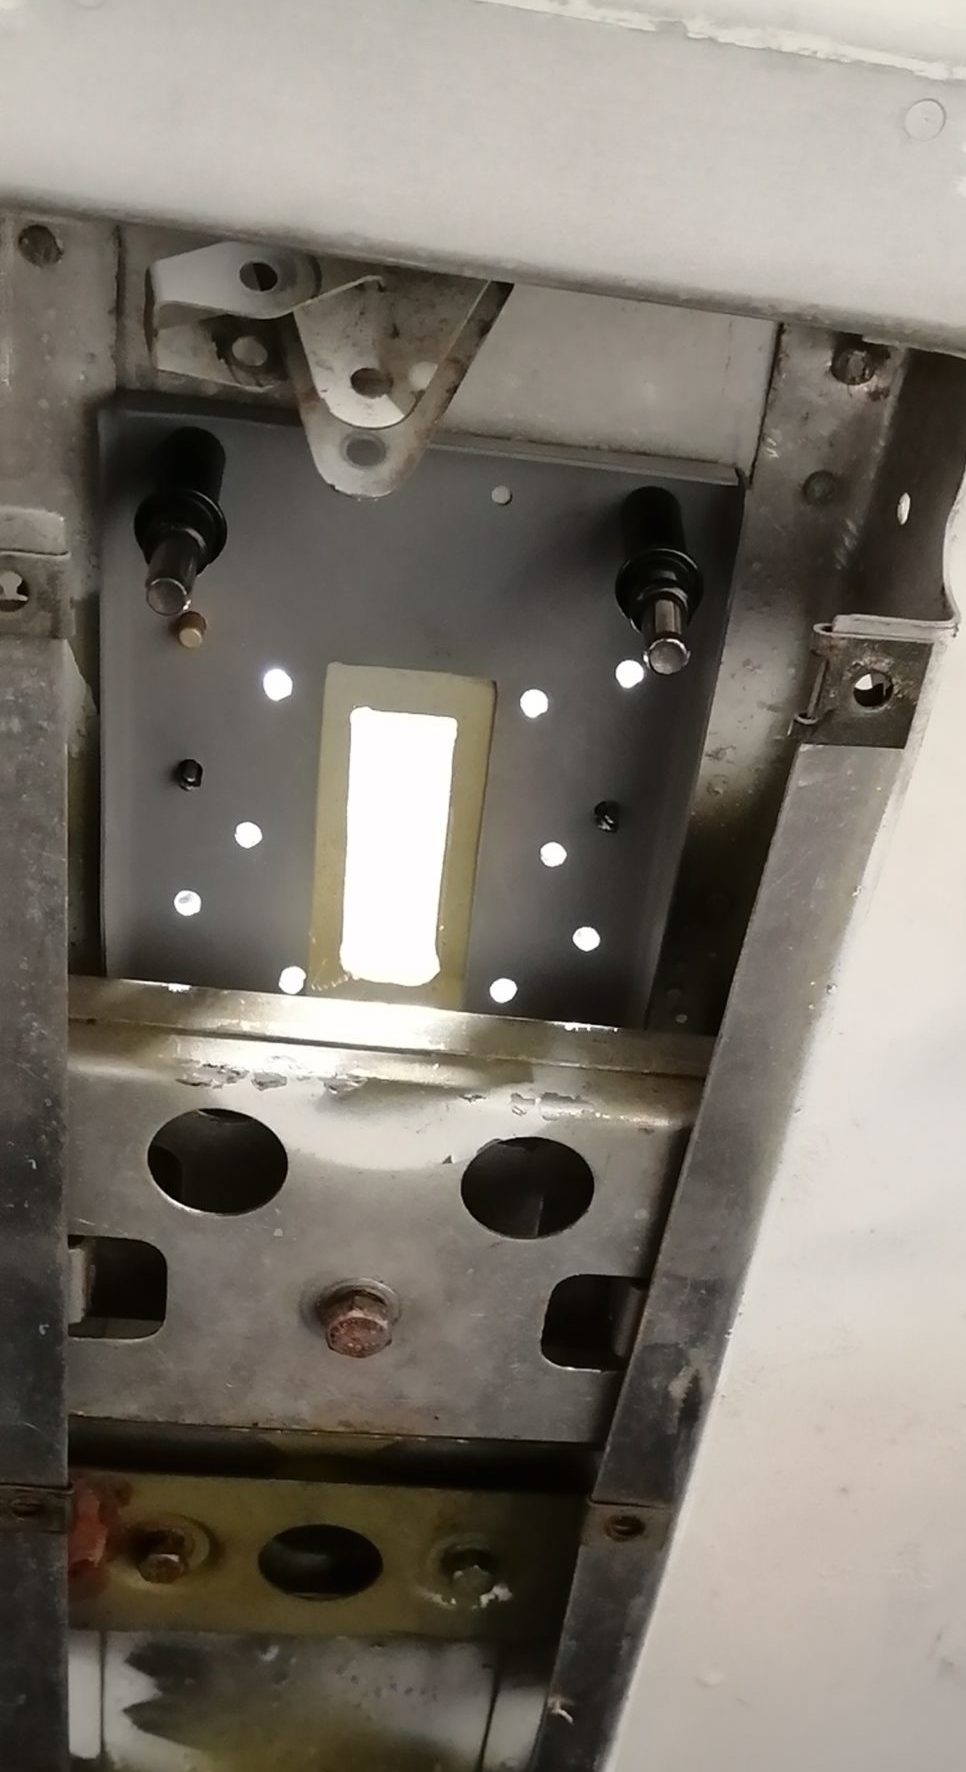
Clecos are now my favorite tool! The patch has two pieces of .040″ 6061-T6, one sized to the hole and the other oversized to allow it to rivet around the hole.
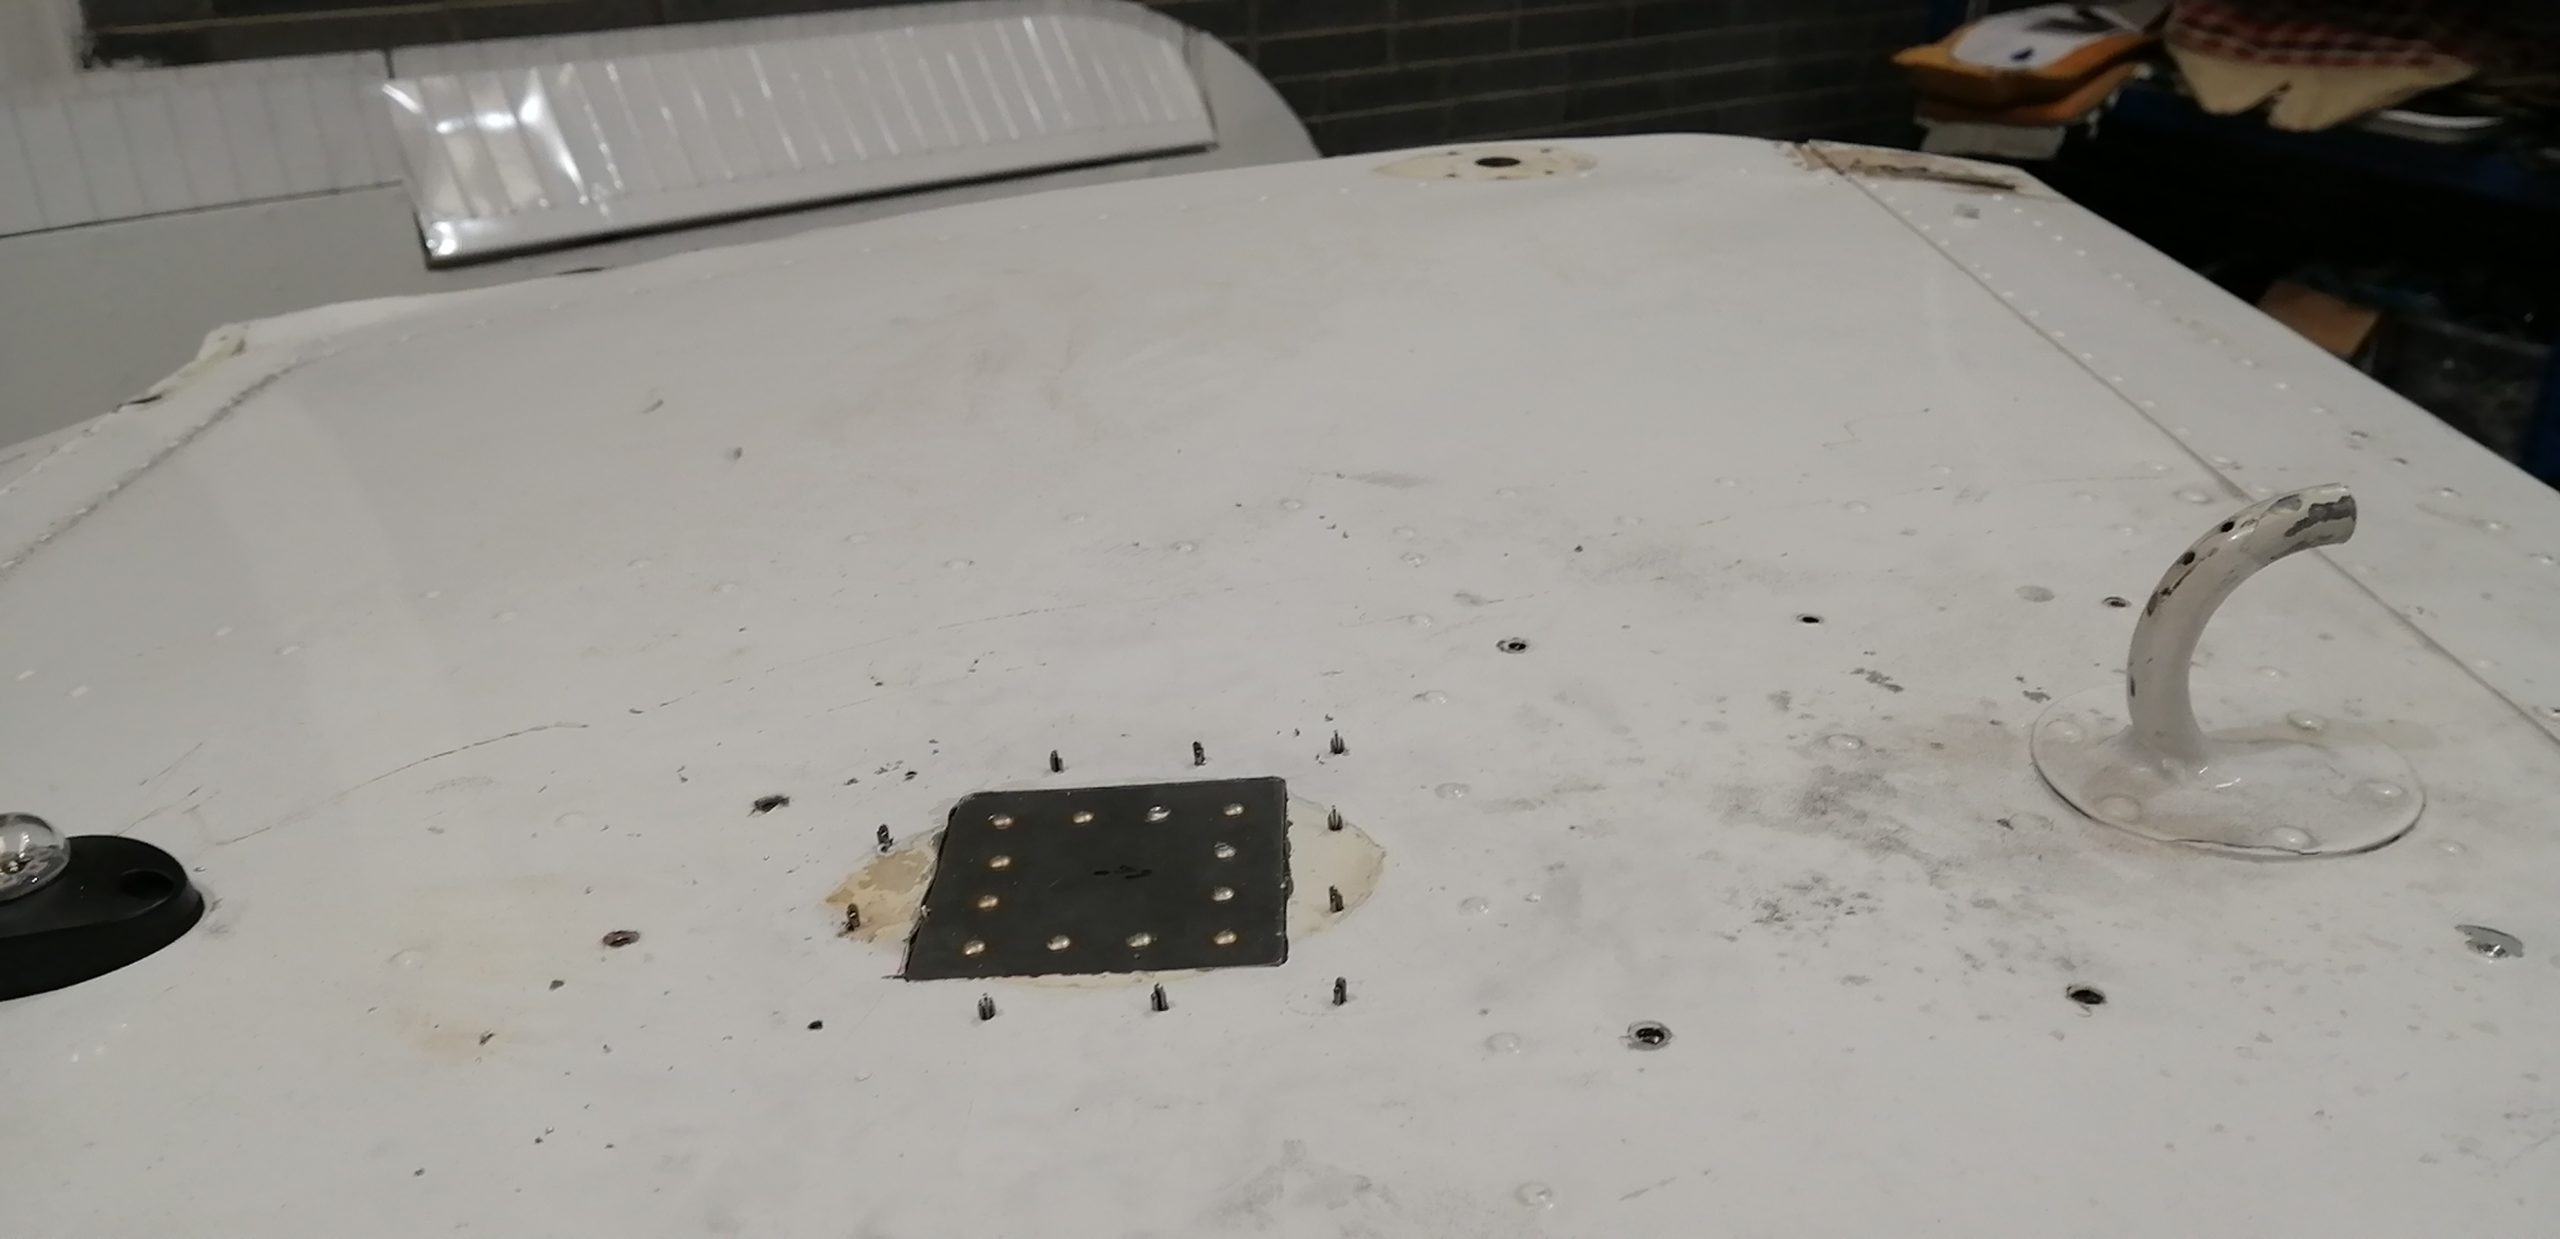
The result is a flush patch. Not that I’m especially worried about drag optimization in a 48 rag wing, but if it’s worth doing … I’ll clean it up and give a lick of paint to tidy it up when I get to painting stuff in the next few weeks.
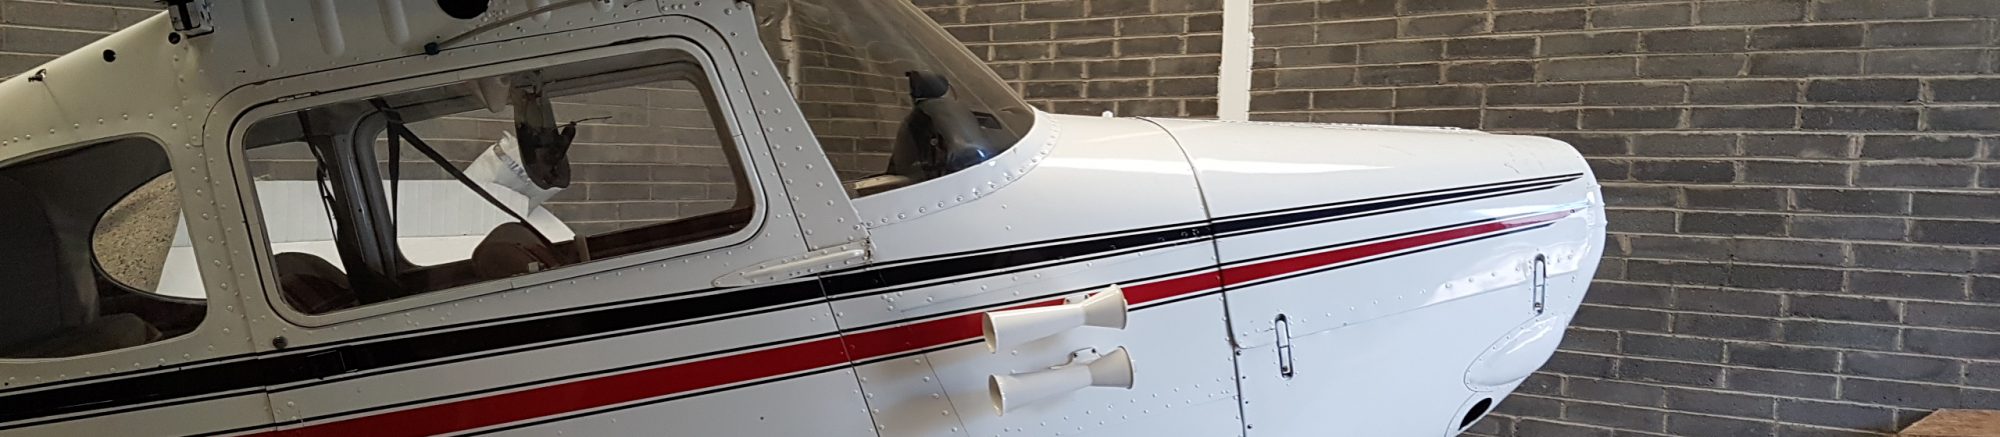
Next up was the new location for the antenna. I’ve put it just aft of the rear spar. This far back may add to “shadow” from the cabin, but I decided I liked the stronger position better. Also given the radio is in the back (controlled by the MFD) I’m able to run the coax up the inside of the control cable box, keeping it out of sight.
I put the COM antenna further back (at the last cabin frame) so it is adequately separated from the NAV antenna. Again, shadow may affect performance; if it does I’ll move it.
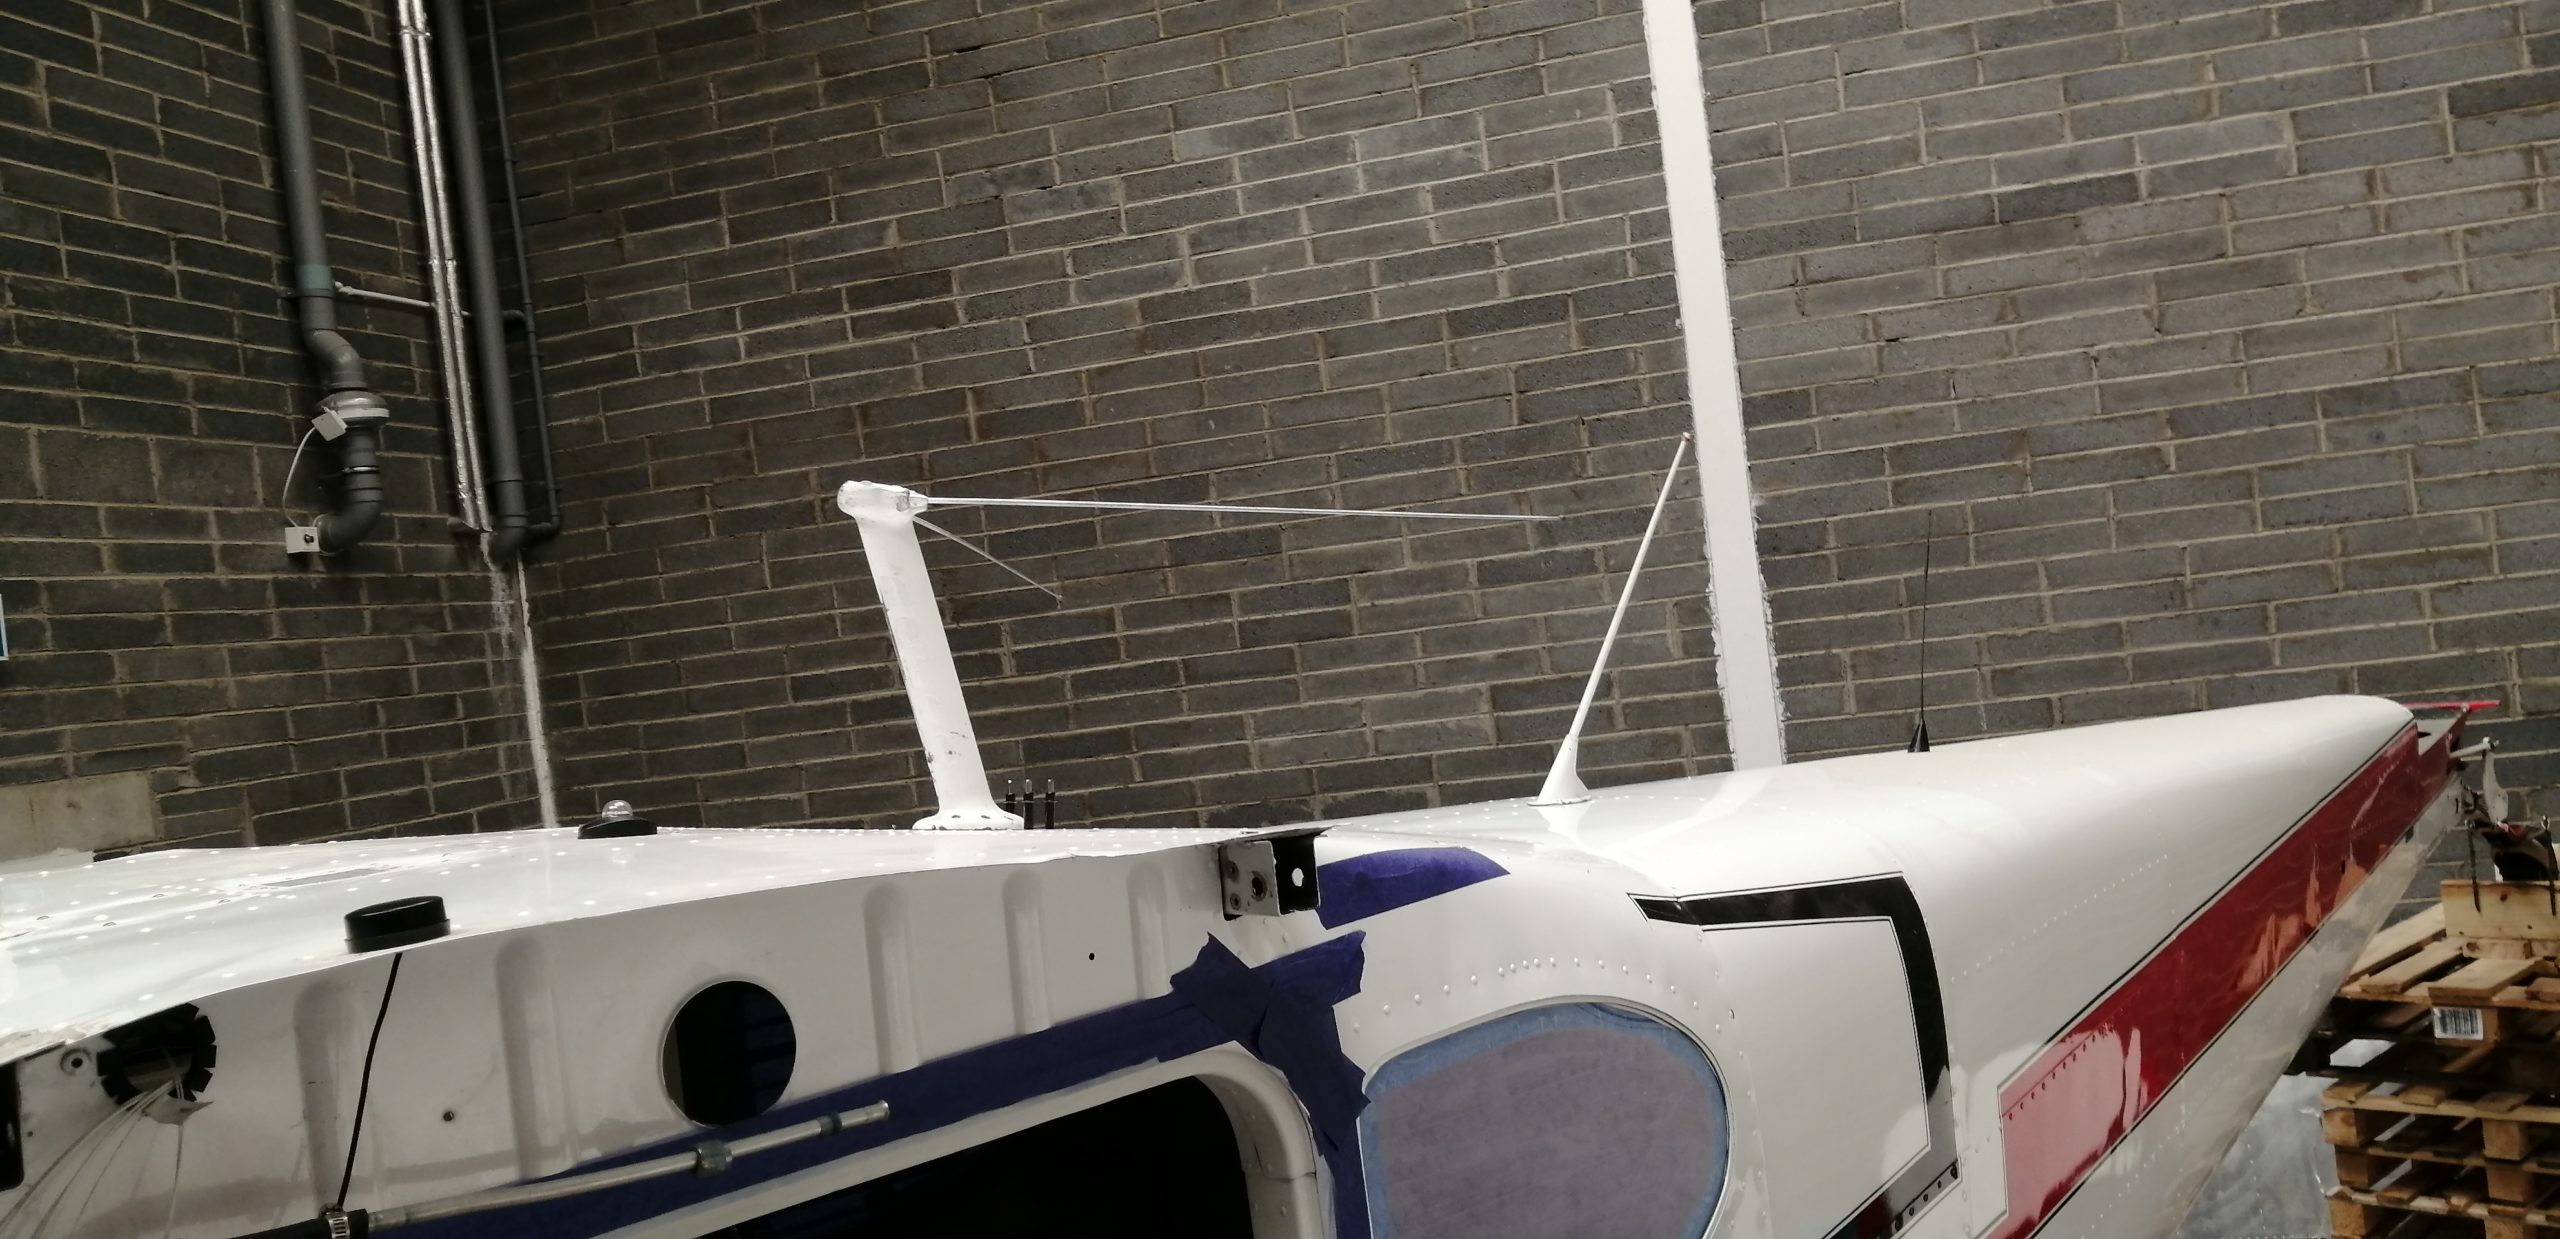
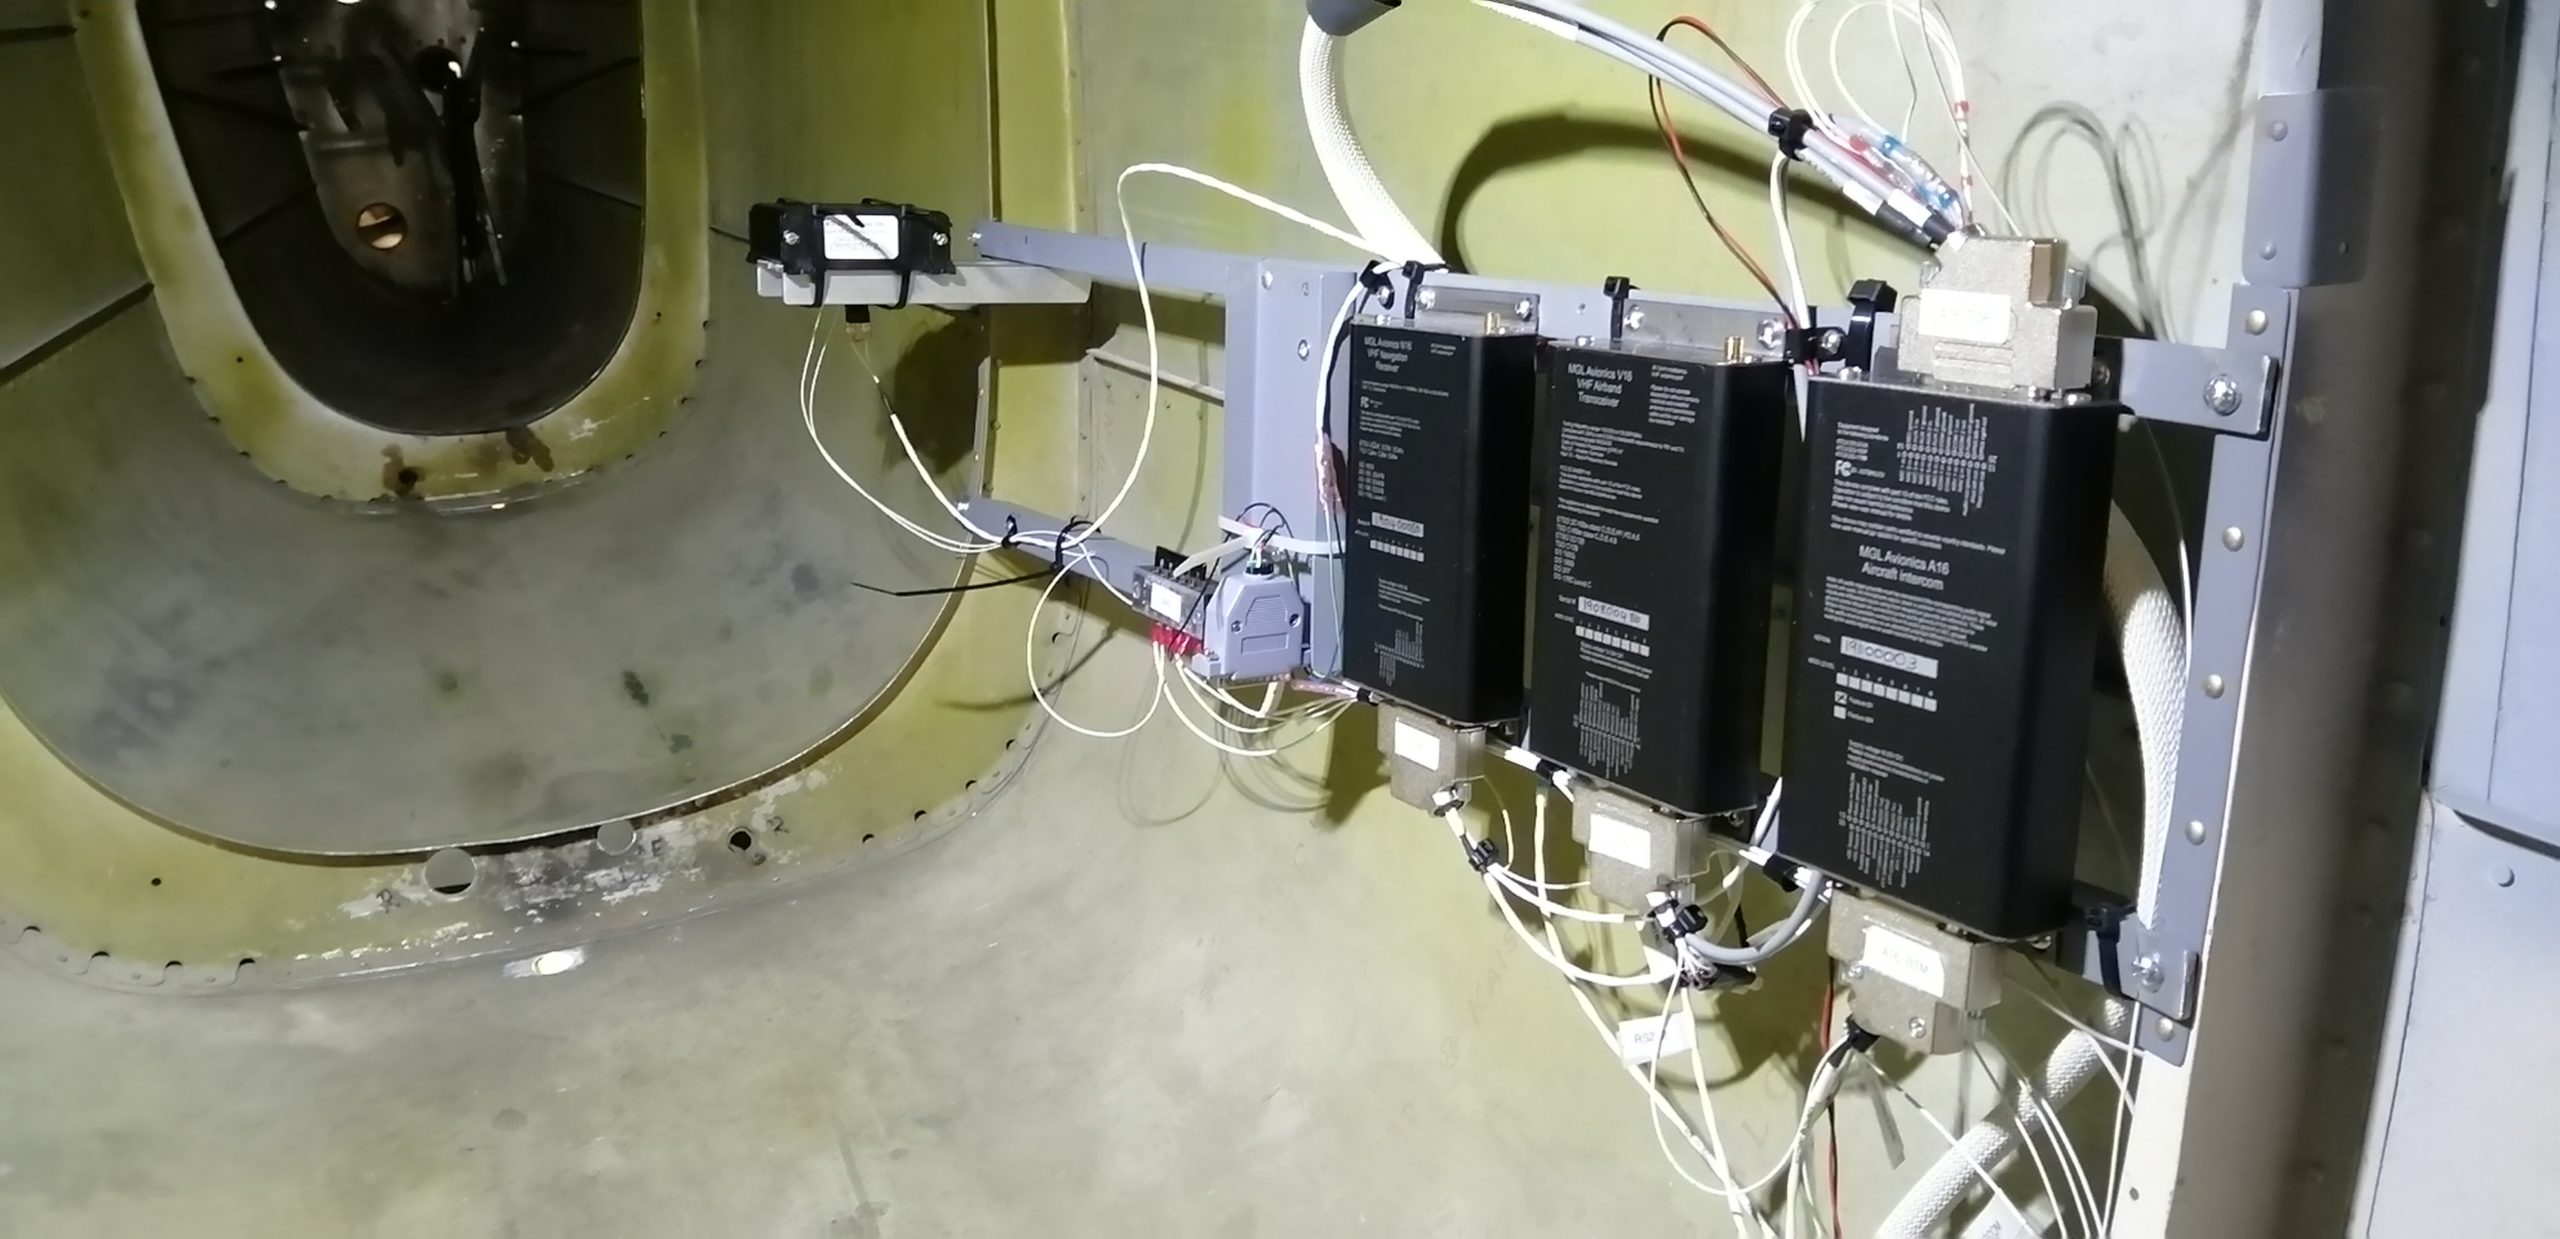
So, she now has a GPS puck, NAV, COM and ELT antennas all installed.

And shortly they’ll be hooked to the avionics rack.
I stopped logging as it was more and more tearing things out and work etc. has been crazy. Almost everything is out of the fuselage that’s coming out. The windscreen still needs to be popped out which will hopefully happen next weekend.
All wiring, control cables, pulleys, fairleads are out of the fuselage. There is still some cleaning to be done under the floor and the cabin interior needs sanding re-priming and painting. I’m not putting back a headliner so the frames will be exposed and need to be clean and smooth for painting. The rear of the baggage compartment will need a single piece cover which I intend to fabricate from .5mm(ish) Al sheet and cover.
Aft of that the consensus is don’t paint it, lather it in ACF-50, so 4 Litres of that is on order and the weed-killer sprayer has been “rescued” from the shed.
I have not got inside the wings yet; need to build a wing stand. Next week!
Micro-camera in the wing spar follow-throughs showed some surface corrosion. I’ve pulled one of the spar mounting blocks for a better look and it may be that it looked worse on the little camera than it is. I’m going to gently scotch-brite the interior of the box section to clean it out as much as possible and then stick the camera down again.
Lots of tidying up last weekend. Got shelves set up and all (most) aircraft parts off the floor.
Got the remainder of the fastenings out of the windshield bottom fairing. There is a wealth of silicone. I expect that despite the lack of bolts in accordance with the STC, this thing was going nowhere ever. It is bonded to the fuselage. It looks like it will require gentle heating around the periphery to get it out. To be continued.
Reading on the cessna170.org forum about someone’s missing windshield STC for the one-piece winshield in their plane I realized I didn’t see one in 80V’s docs either. Followed the discussion, posted a question and figured out that the windshield is not correctly installed. It appears to be a pre-drilled Great Lakes Aero windshield (https://www.youtube.com/watch?v=UjeLAgmA57A) that is not anchored to the airframe at the top.
Out she comes, which will give me access to the hand holds on the dash which need replacement and the front spare followthrough where the headliner was glued needs cleaning up as I’m not putting a headliner back in, so …
The last 2 screws to remove the switch and breaker assembly took 4 hours to get out. Someone had installed a plastic overlay and it was necessary to disconnect all the controls (carb heat, throttle, etc. to get it loose and access the screws). All that is coming out anyway so nothing lost.
Ella: 2 hours scraping draft excluder, cleaning and 2 more turning spanners and passing tools and equipment. Engineer in the making?!
Continued removing interior and panel. Started chopping out the rats nest “harness”. The wiring clearly evolved over time as new systems were added and not all of the vestigial wiring from previous ones was removed. There looked to be at least 5 separate ages of wiring in there and much of the insulation was past its “best before”.
As the aircraft will be VFR day only all the IFR stuff will not be replaced.
Removed seats, carpets, some interior panels, opened all inspection plates and removed shock mounted instrument cluster.
Found half a pound of loose screws, bolts, etc. down the back under the floor where they had obviously migrated after being dropped. Makes one wonder how hard they looked on the last annual!