One of the interesting things about working on an old aircraft rather than building a kit (which was my other choice) is the archaeology! Figuring out why someone did what they did when fixing, installing or changing something has been interesting. In a few cases the question was more along the lines of “how did they get away with that?”!
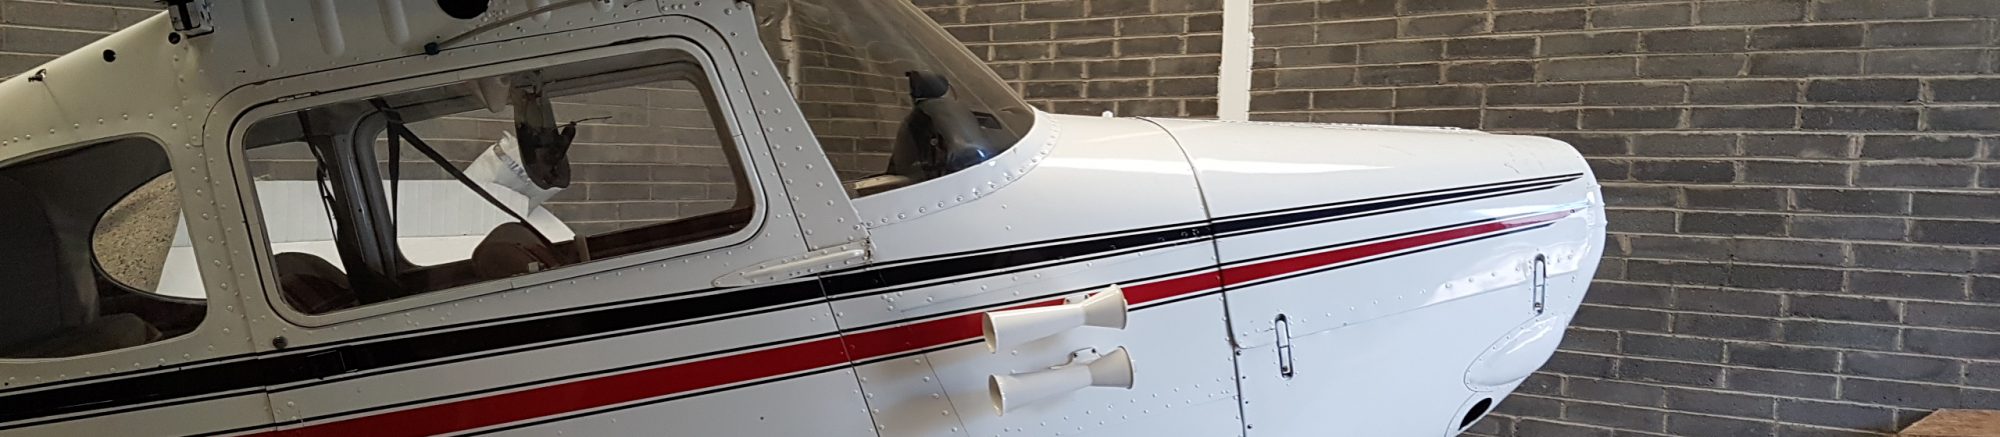
The reason N4180V was sold was she ground looped into a runway sign and minced the H-stab and one side of the elevator. The gentleman in Humble, TX from whom I bought her had already sourced a H-stab and fin from another aircraft which itself had been crash landed on a railway embankment. When I test fit the rudder onto the “new” fin it didn’t work out all that well. “Right Rudder, Right Rudder!” is all well and good, sometimes you have to go left.
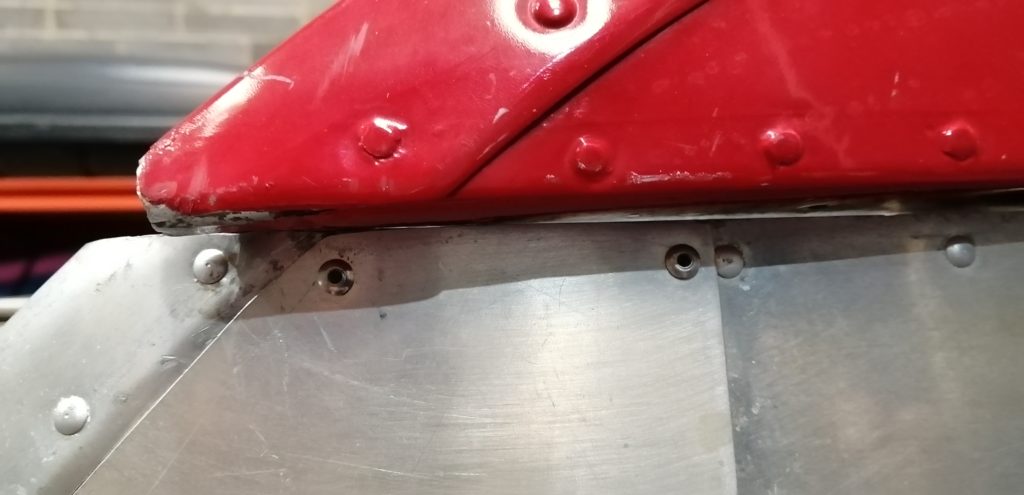
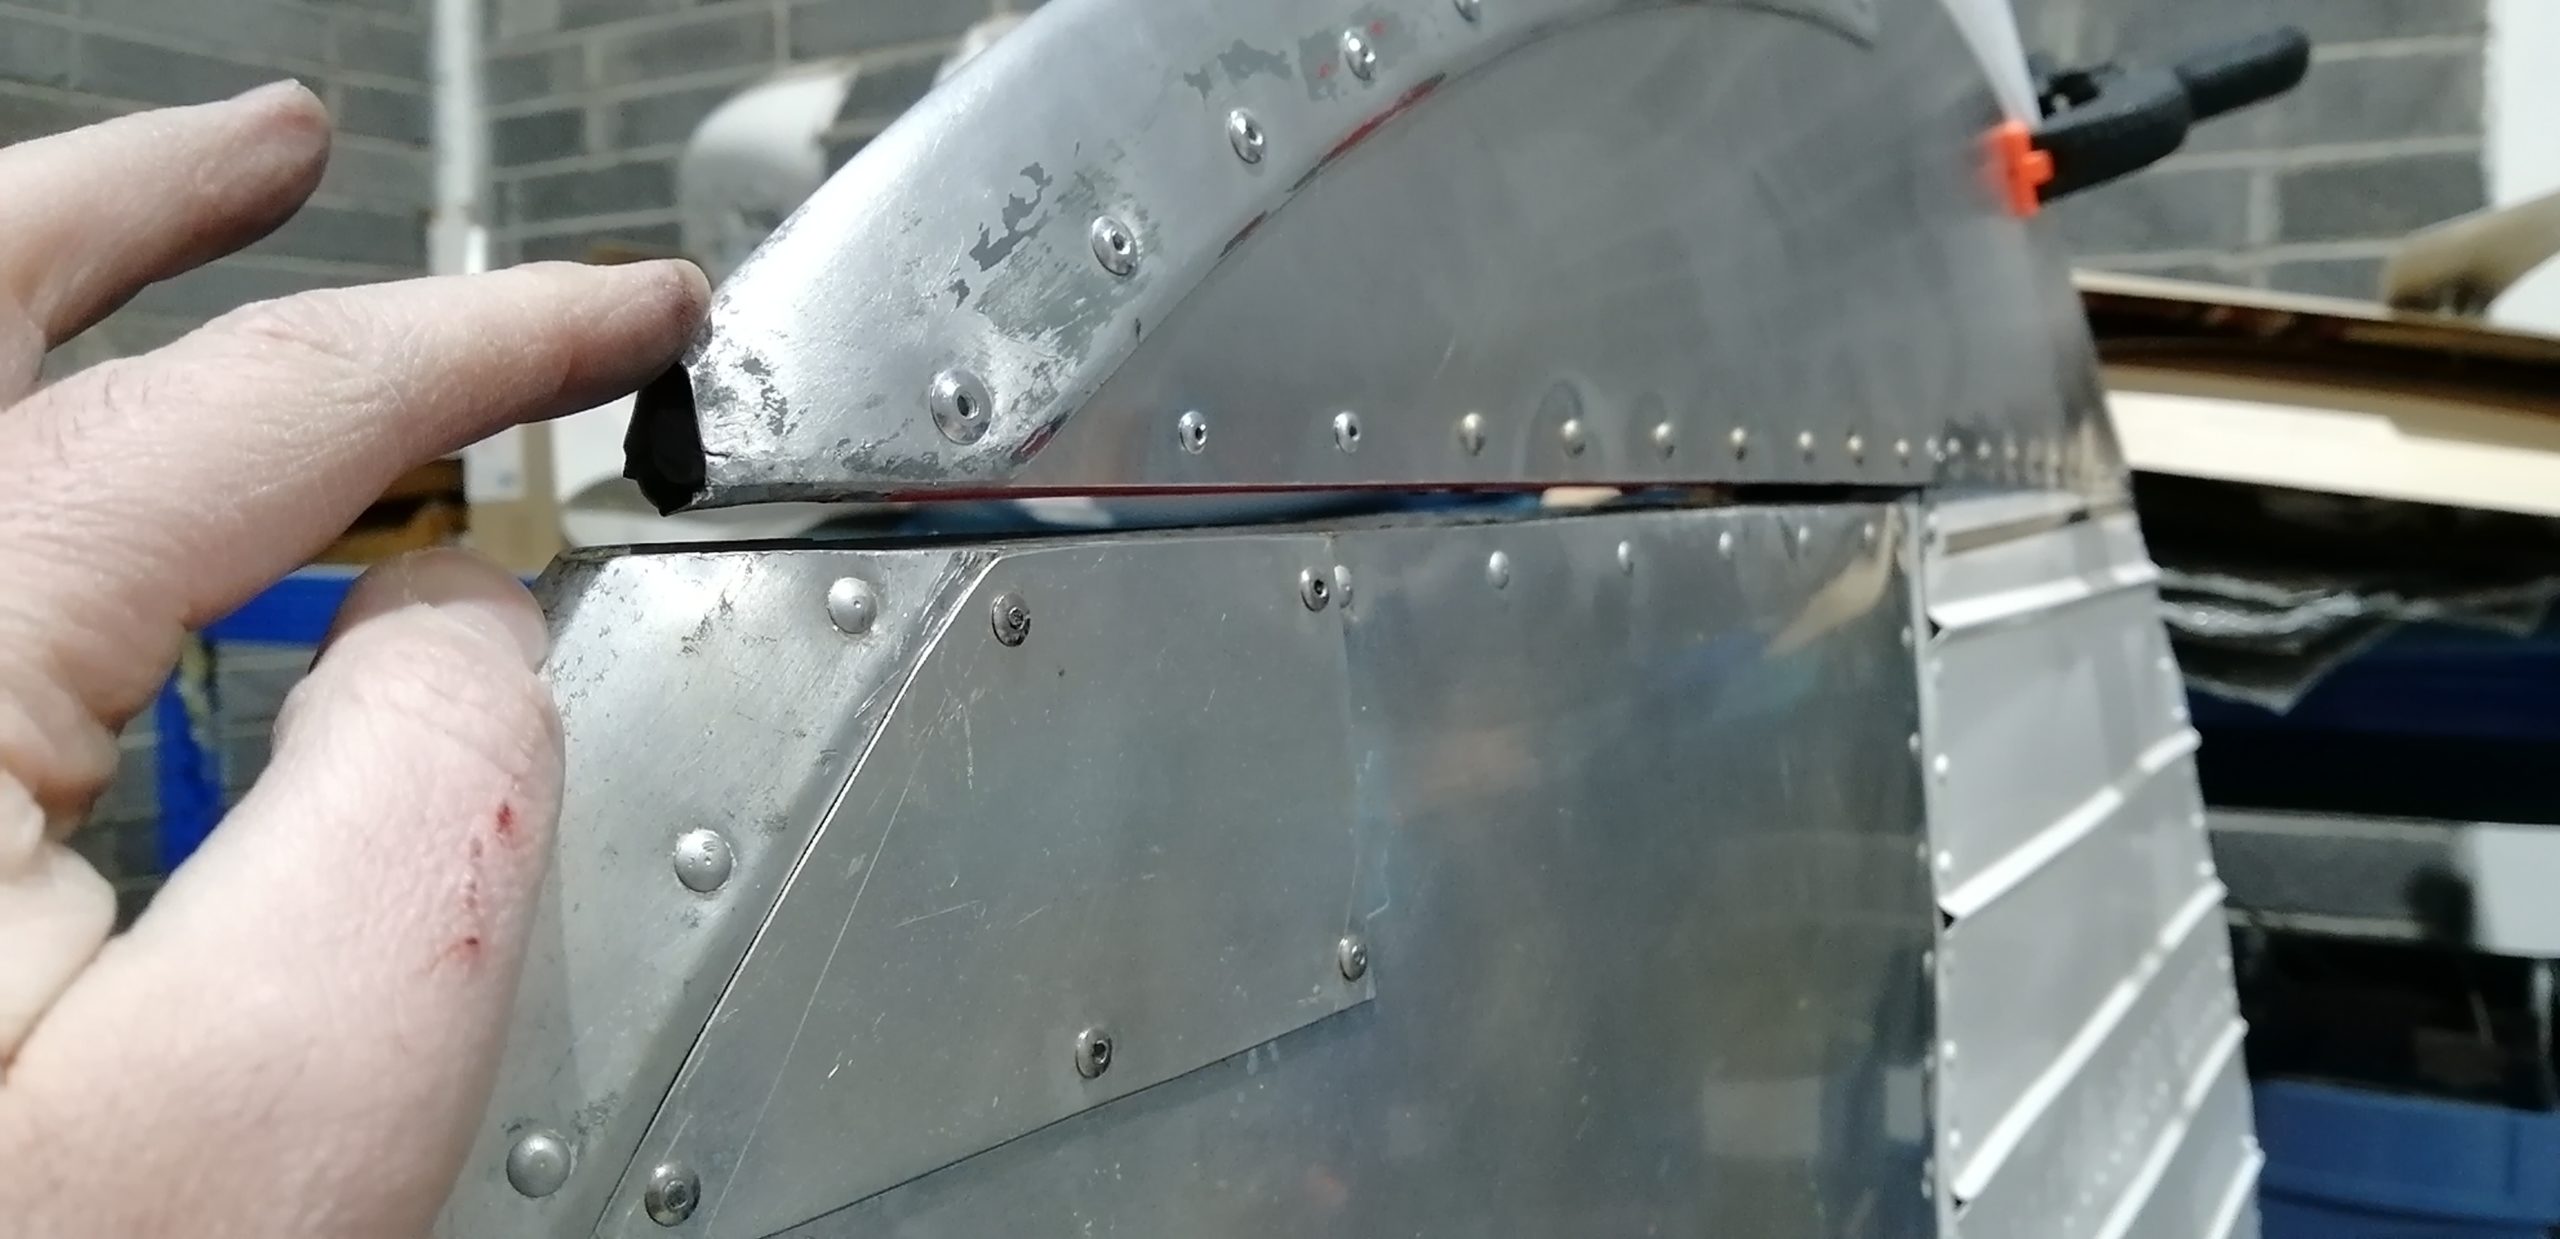
It appears that the rudder was (at least partially) rebuilt at some point. It may have been quite early in her life as it is not covered in the logs that I have. The top of the rudder, the red part, was when attached was not square. The of course raised the question of how did it fit on the plane?
My best guess is that when they finished on the rudder and went to fit it this happened (below) and rather than do the rudder again keeping everything square, it was easier to shave the top of the fin to create the clearance. I was not willing to do this. I had a buddy check his rudder (which also happened to be off the aircraft) and it was near perfectly square, so I decided to rebuild the top of the rudder.
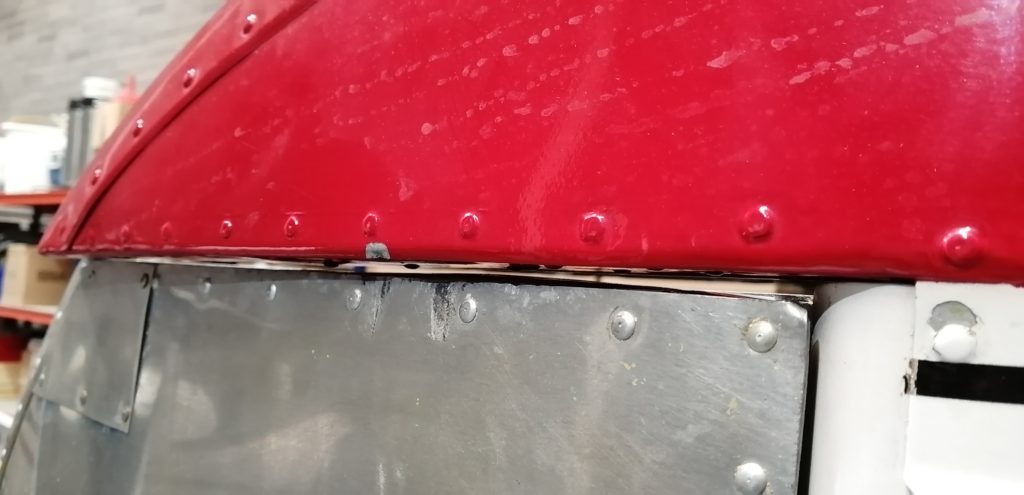
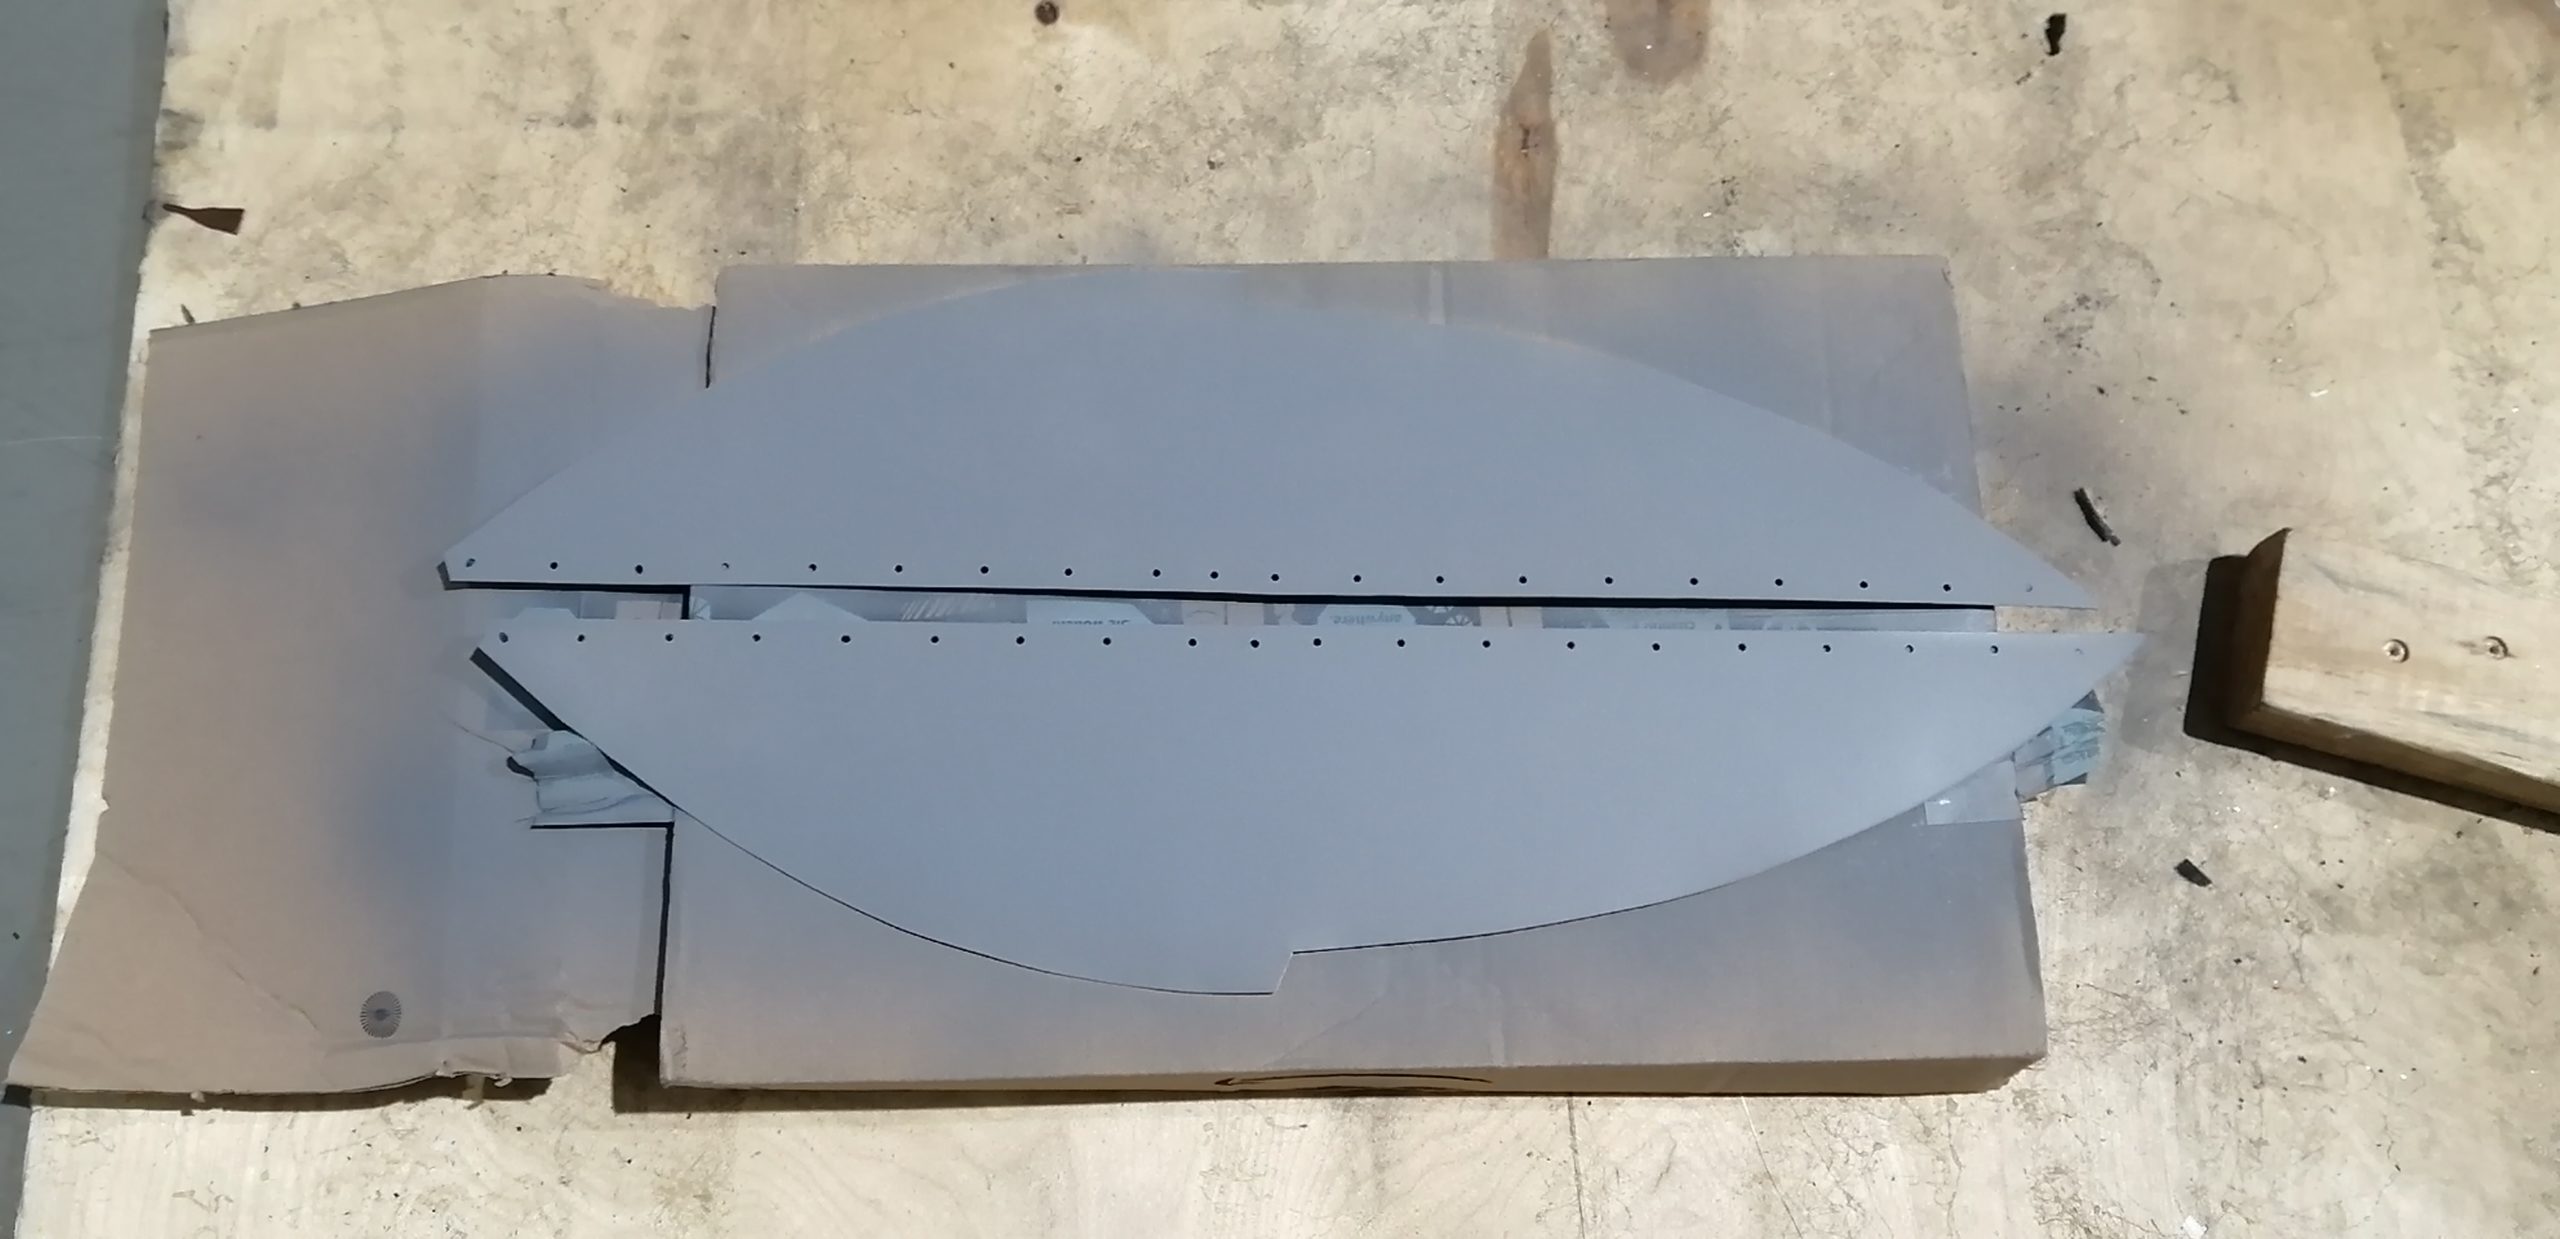
The first step was seeing if the existing rudder could be “fettled” into place, which it could, but I didn’t like the look of the holes in the skin and the underlying rib. It looks like it had been re-riveted once before using all pop-rivets and the holes in the rib, just didn’t look great. Nothing for it but to replace the skins!
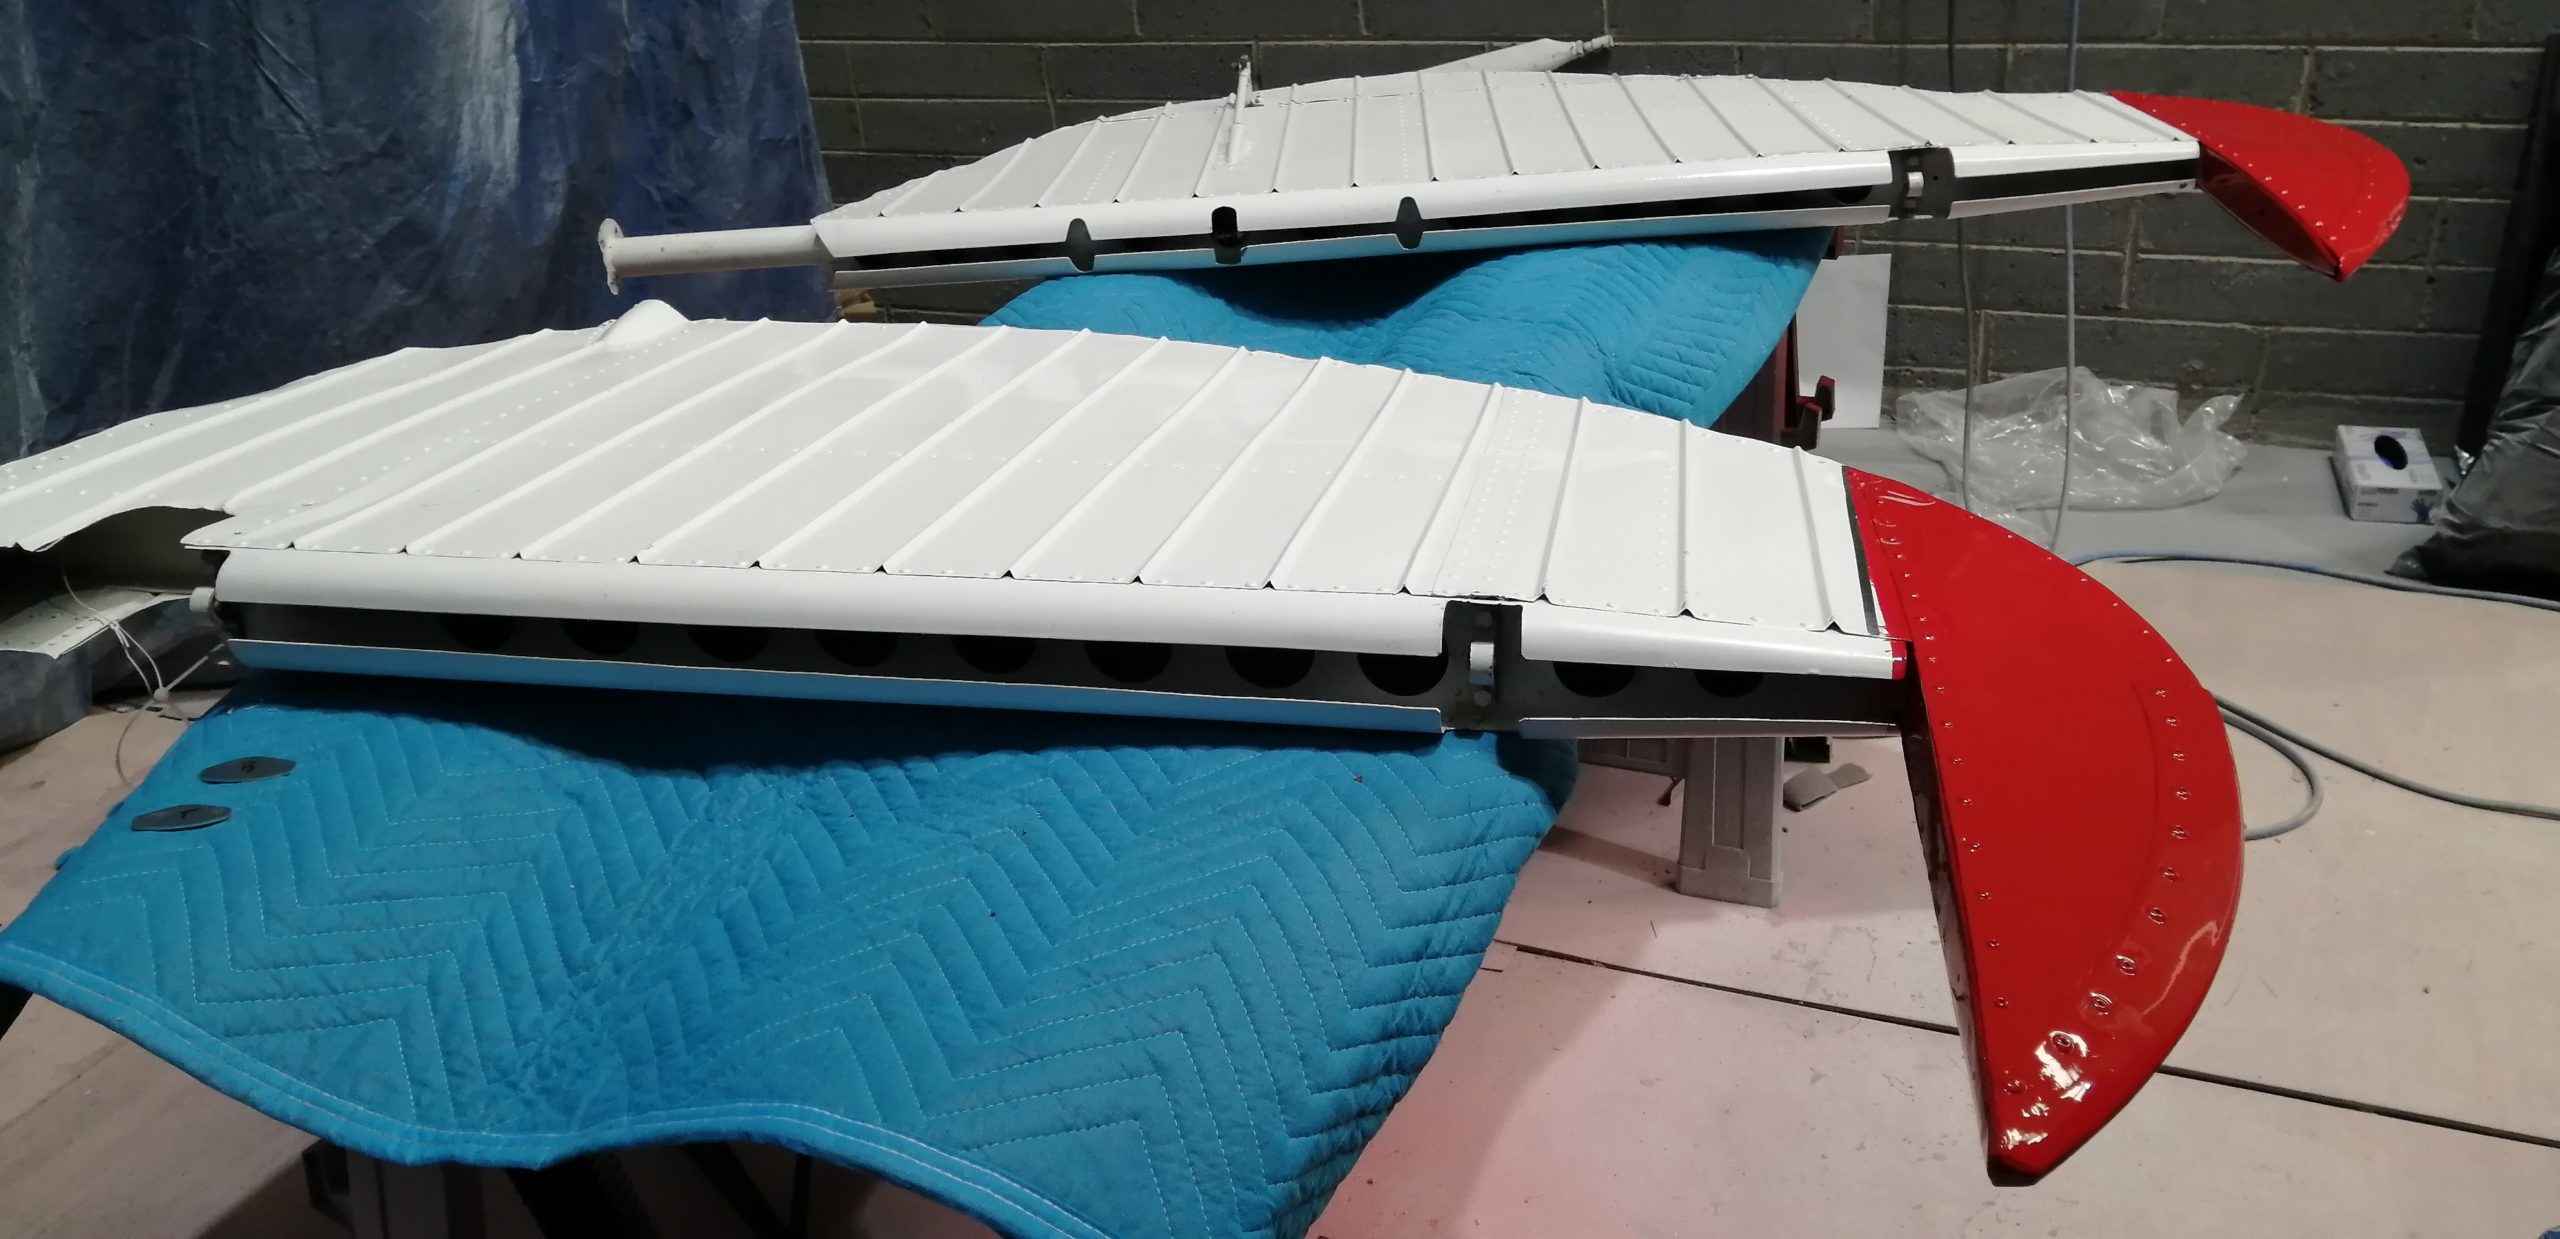
Using lots of Clecos and clamps and remeasuring multiple times the new skins went on square and the resulting rudder fit the “stock” fin. The hole pattern was moved to fall half way between the old holes in the rib. The rib itself was not rebuilt, in fact was never removed from the attachment point to the corrugated skins.
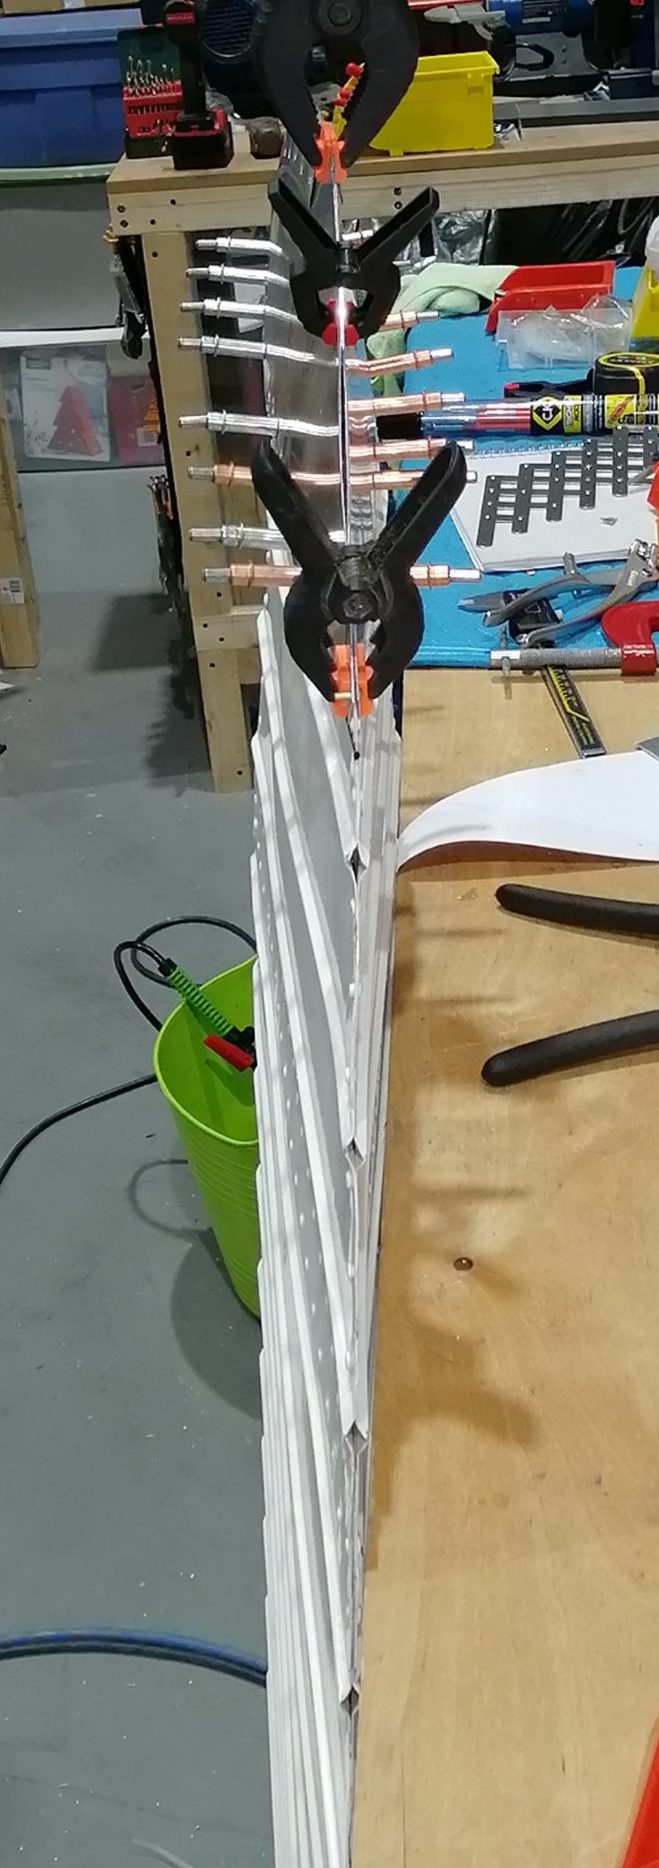
As always my corrosion paranoia kicked in and everything got a coat of etching primer on the inside.
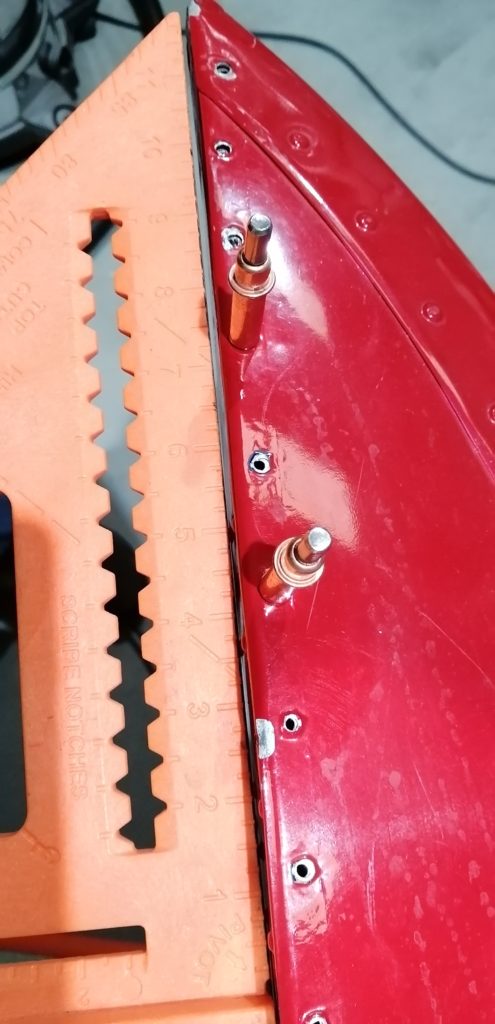
Solid rivets were used along the bottom except at the end where there was zero clearance for the bucking bar. The leading edge was fitted using pop-rivets (4mm) with a large head to reinforce and cover the holes as of course the original positions had to be used, albeit with new holes in a fresh skin underneath.
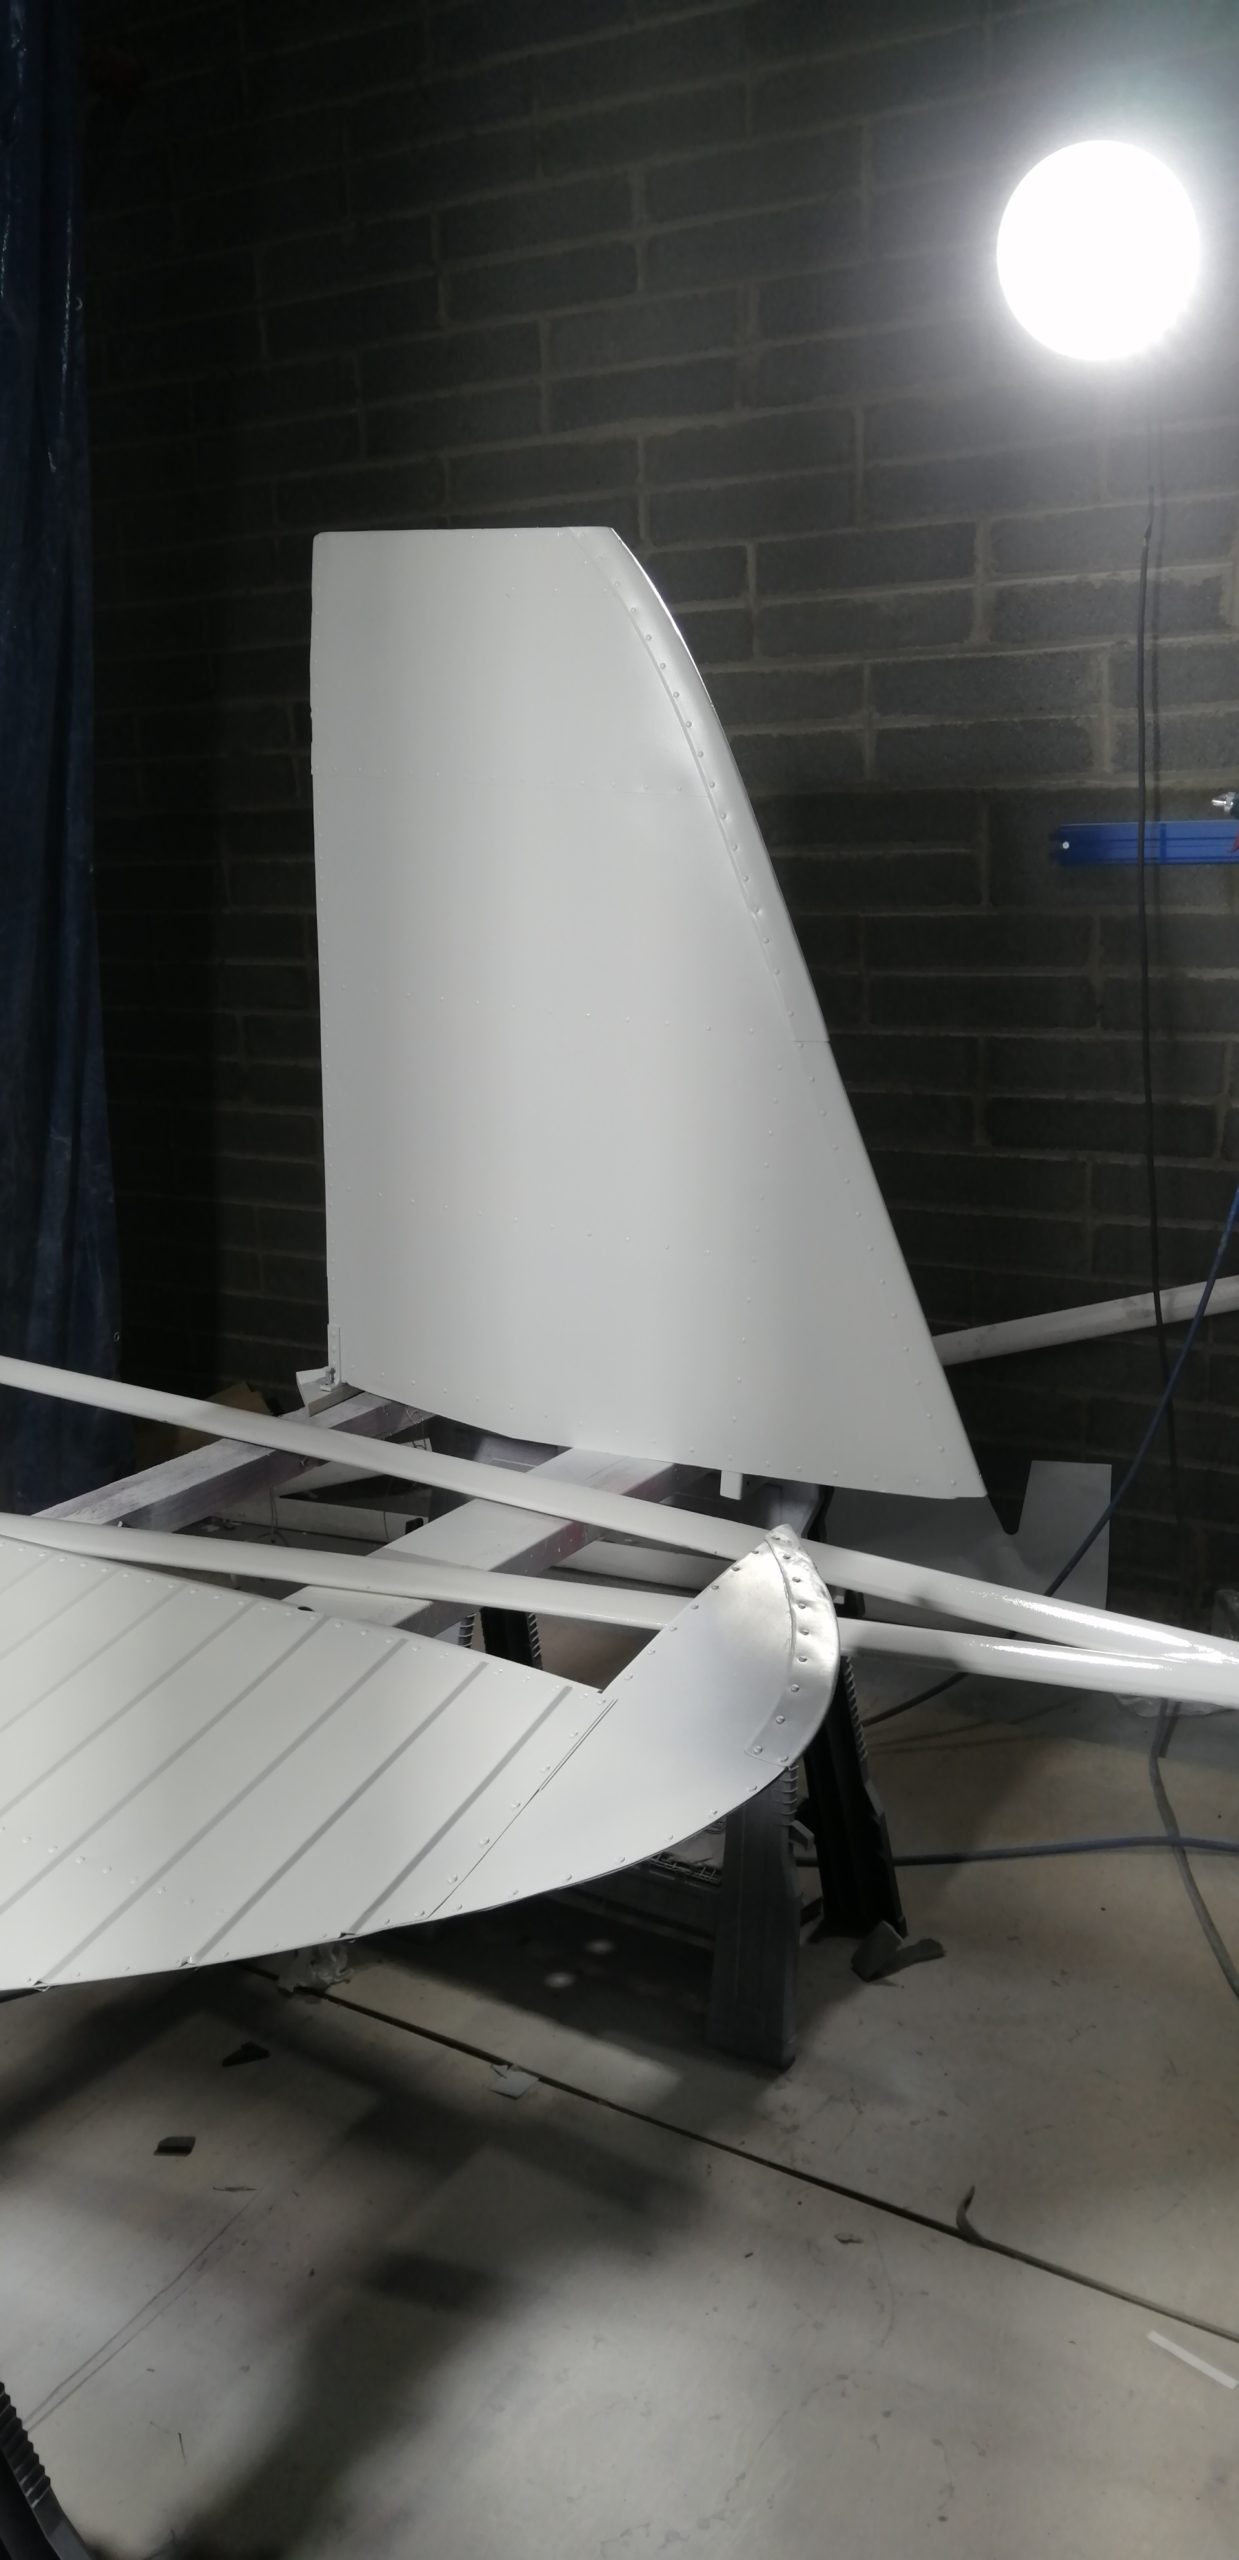
Painting occurred – the less said about my painting the better.
Filler was involved in a few locations, especially at the nose of the rib! The lump of lead inside that balances the rudder was pinned in place as originally installed and then pop-riveted along with the skins.
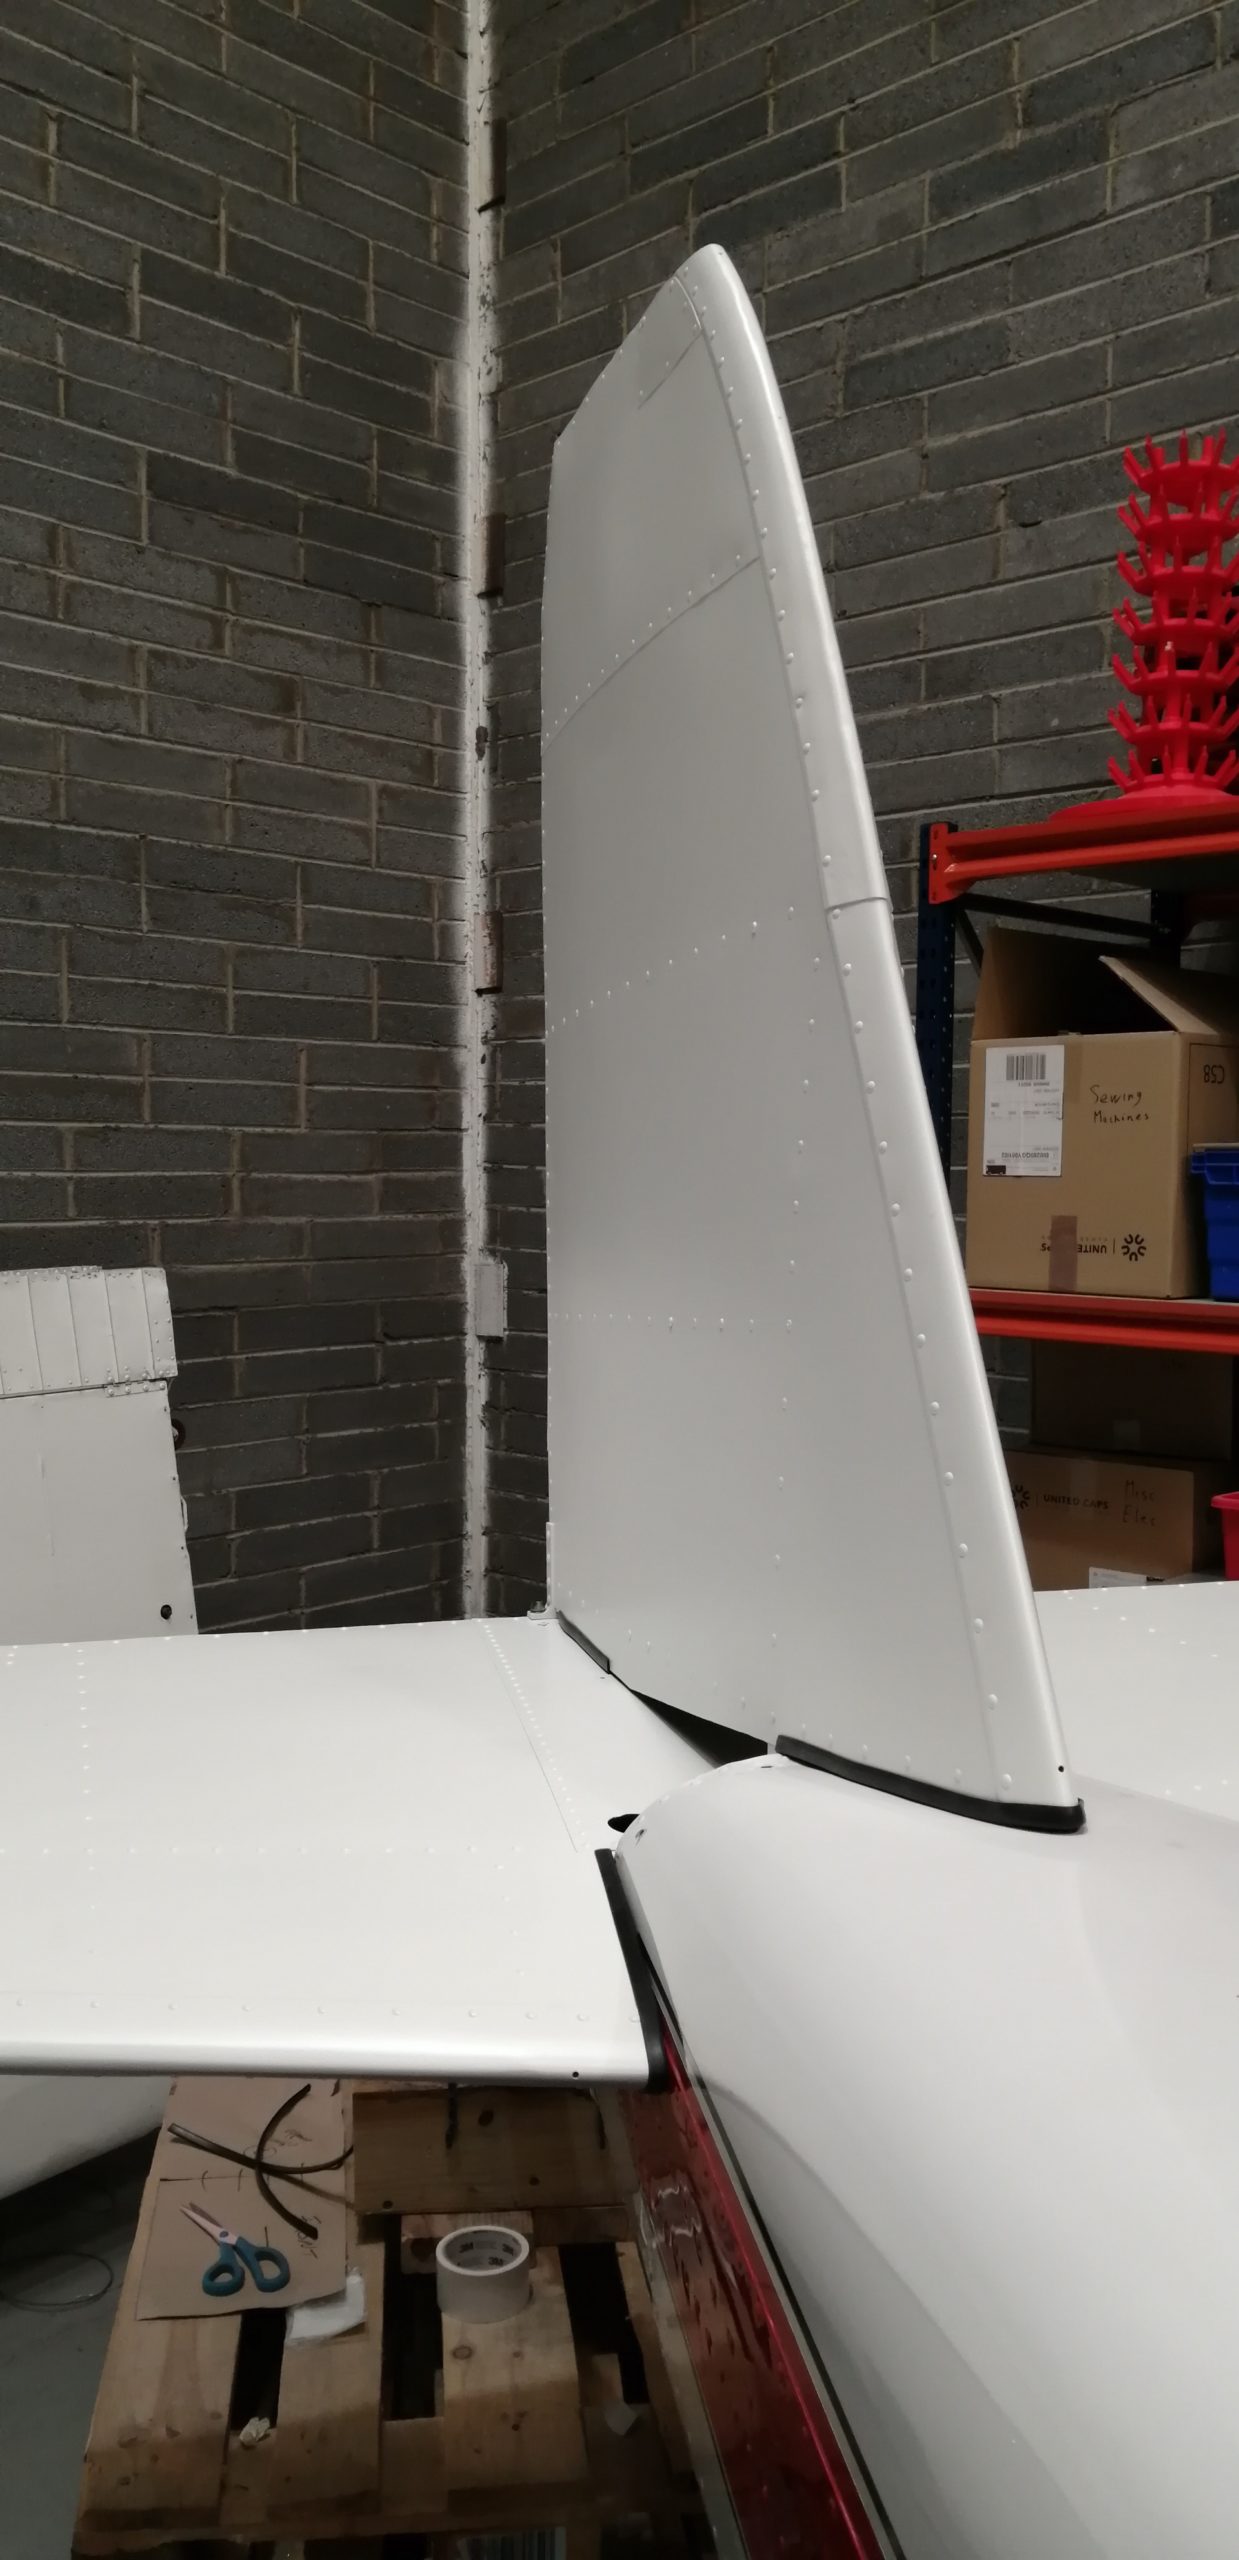
The fin and horizontal stabilizer are installed, shimmed and measured. Cables and pulleys are in place and the rudder and elevators will be hung as soon as the bolts show up from the supplier!