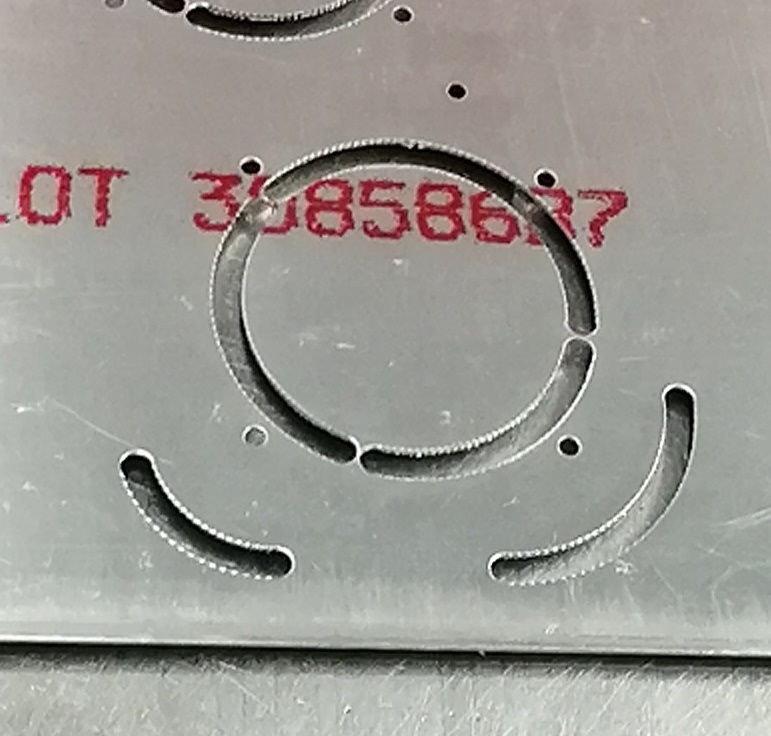
The CAD file has finally been applied to metal. 6061-T6 Al .0625in thick.
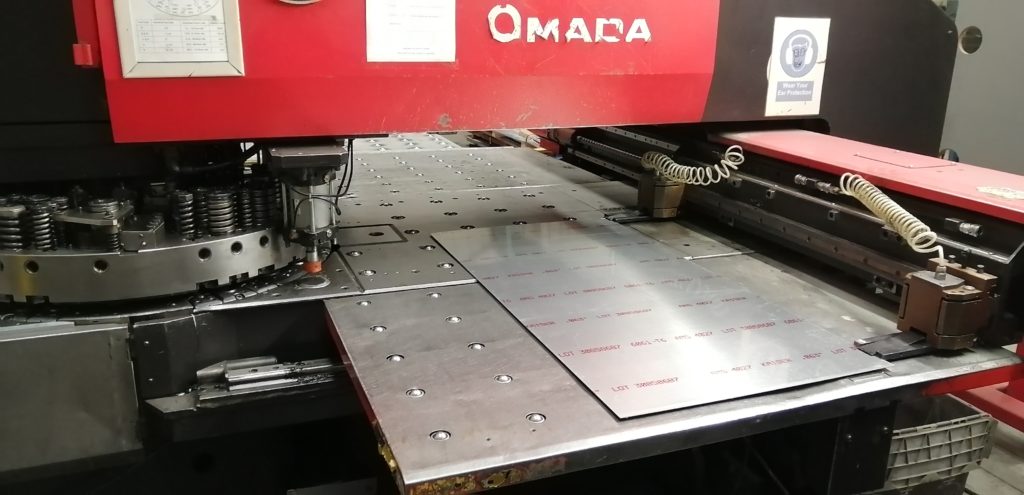
The work was done at Watermark Engineering in Dublin; the owner is an avgeek who is plans-building a Fiesler Stork replica. Using their punch press we (the operator with looking on) punched out the panel and the shock-mount instrument sub-panel.
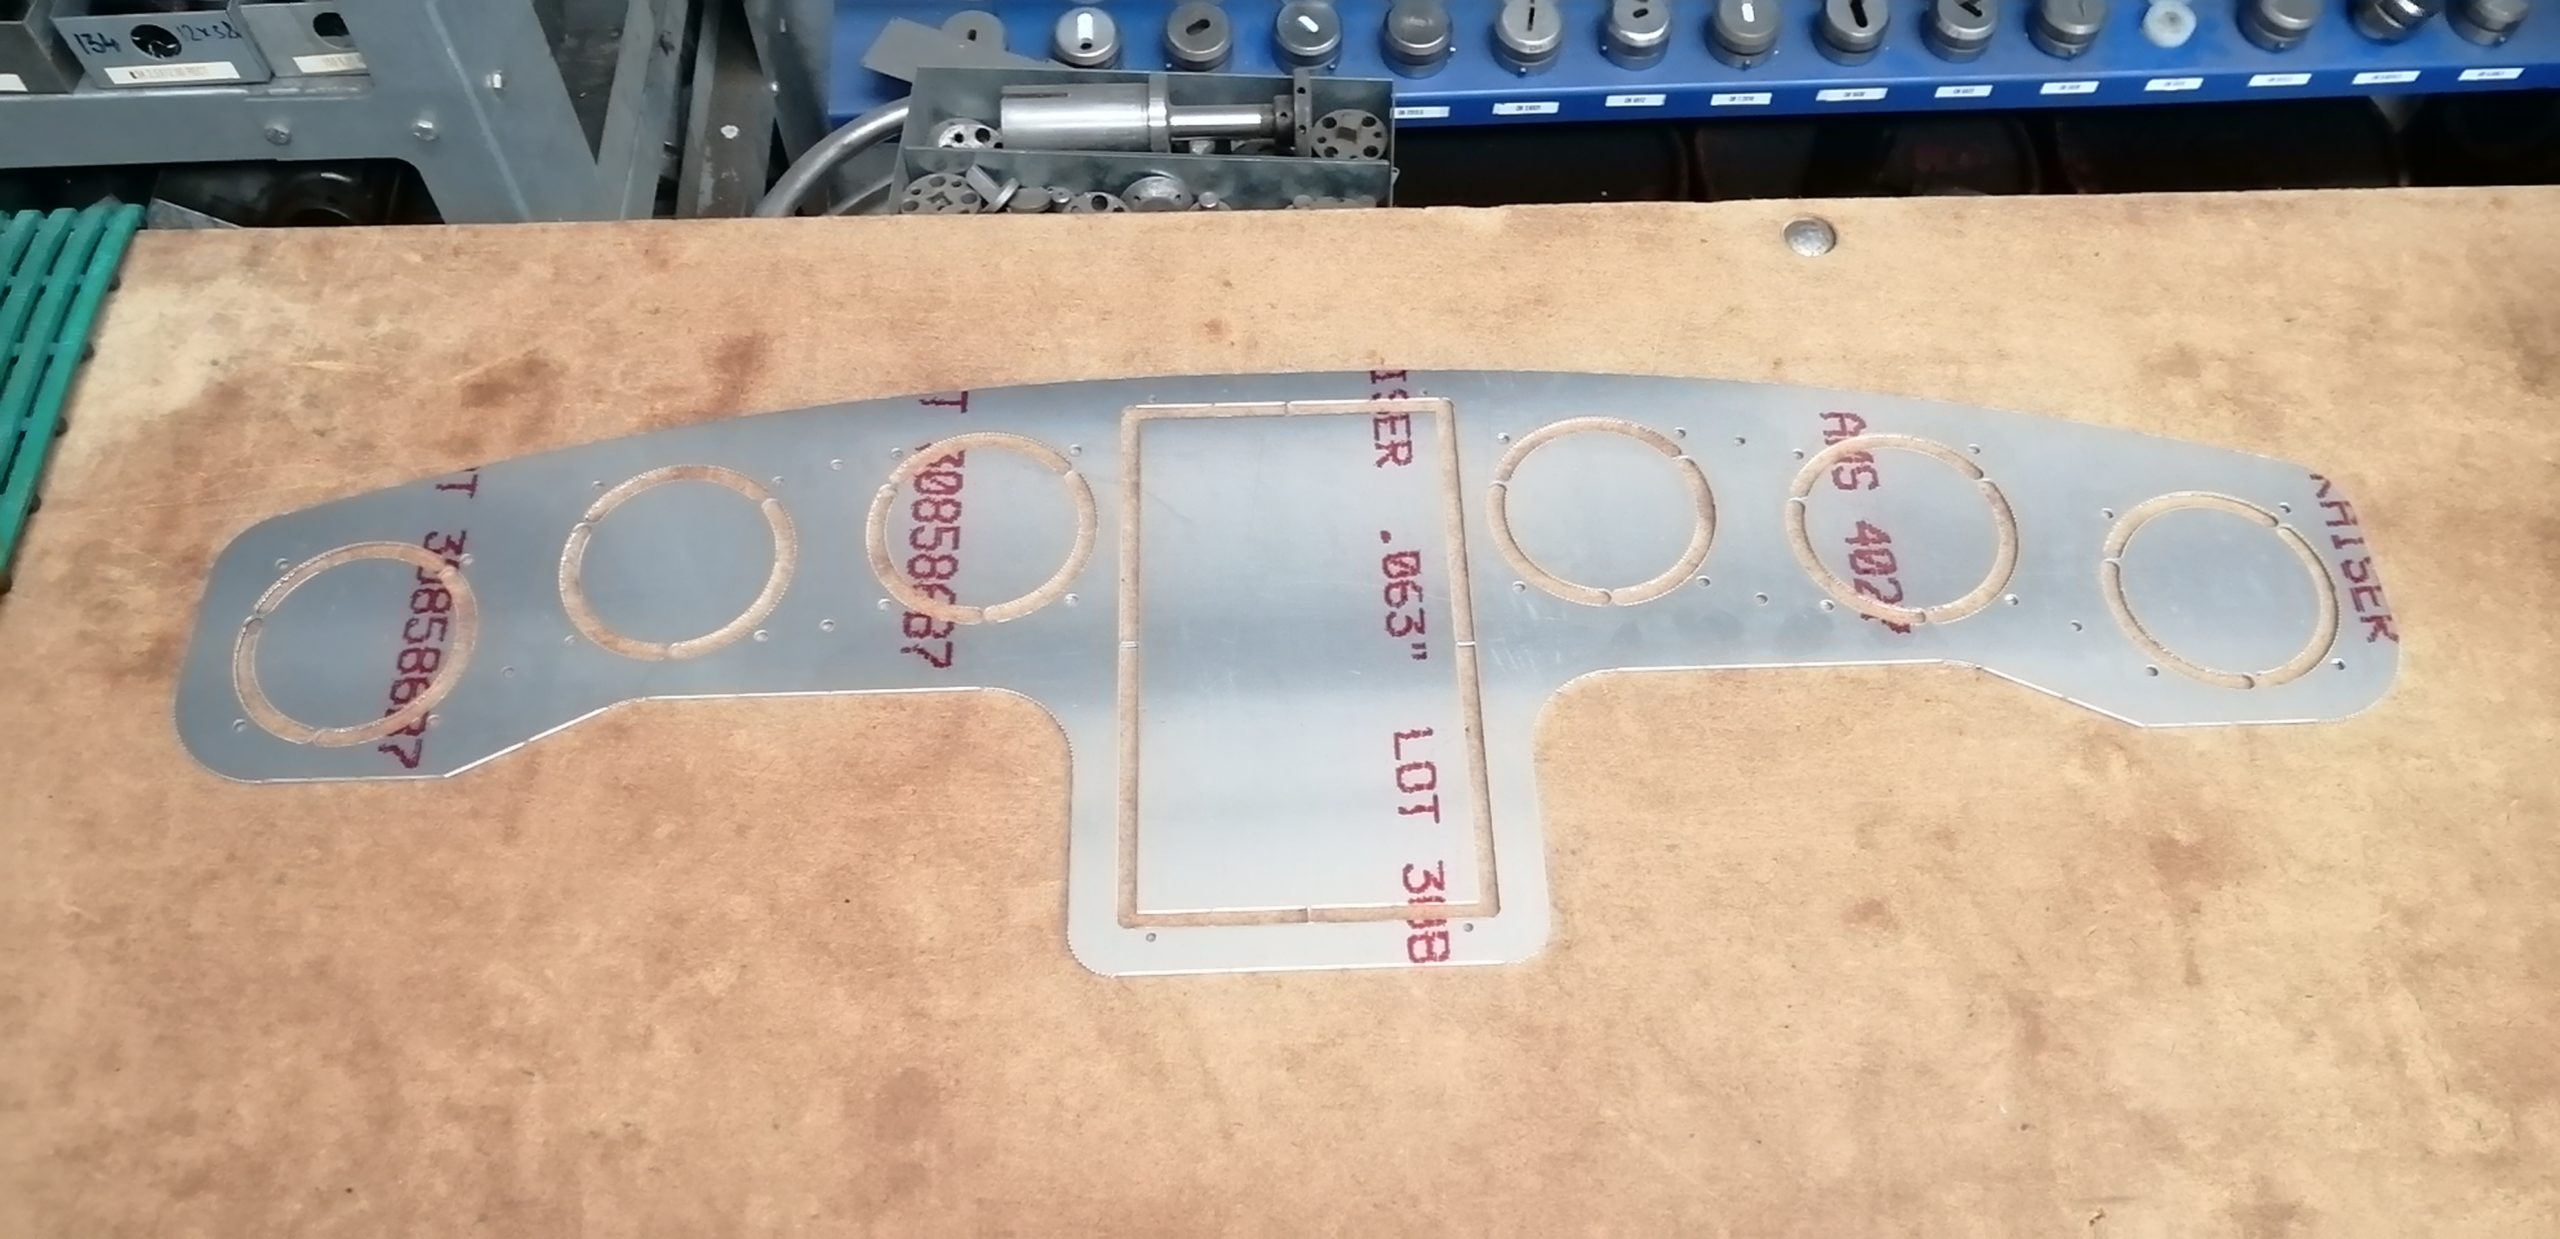
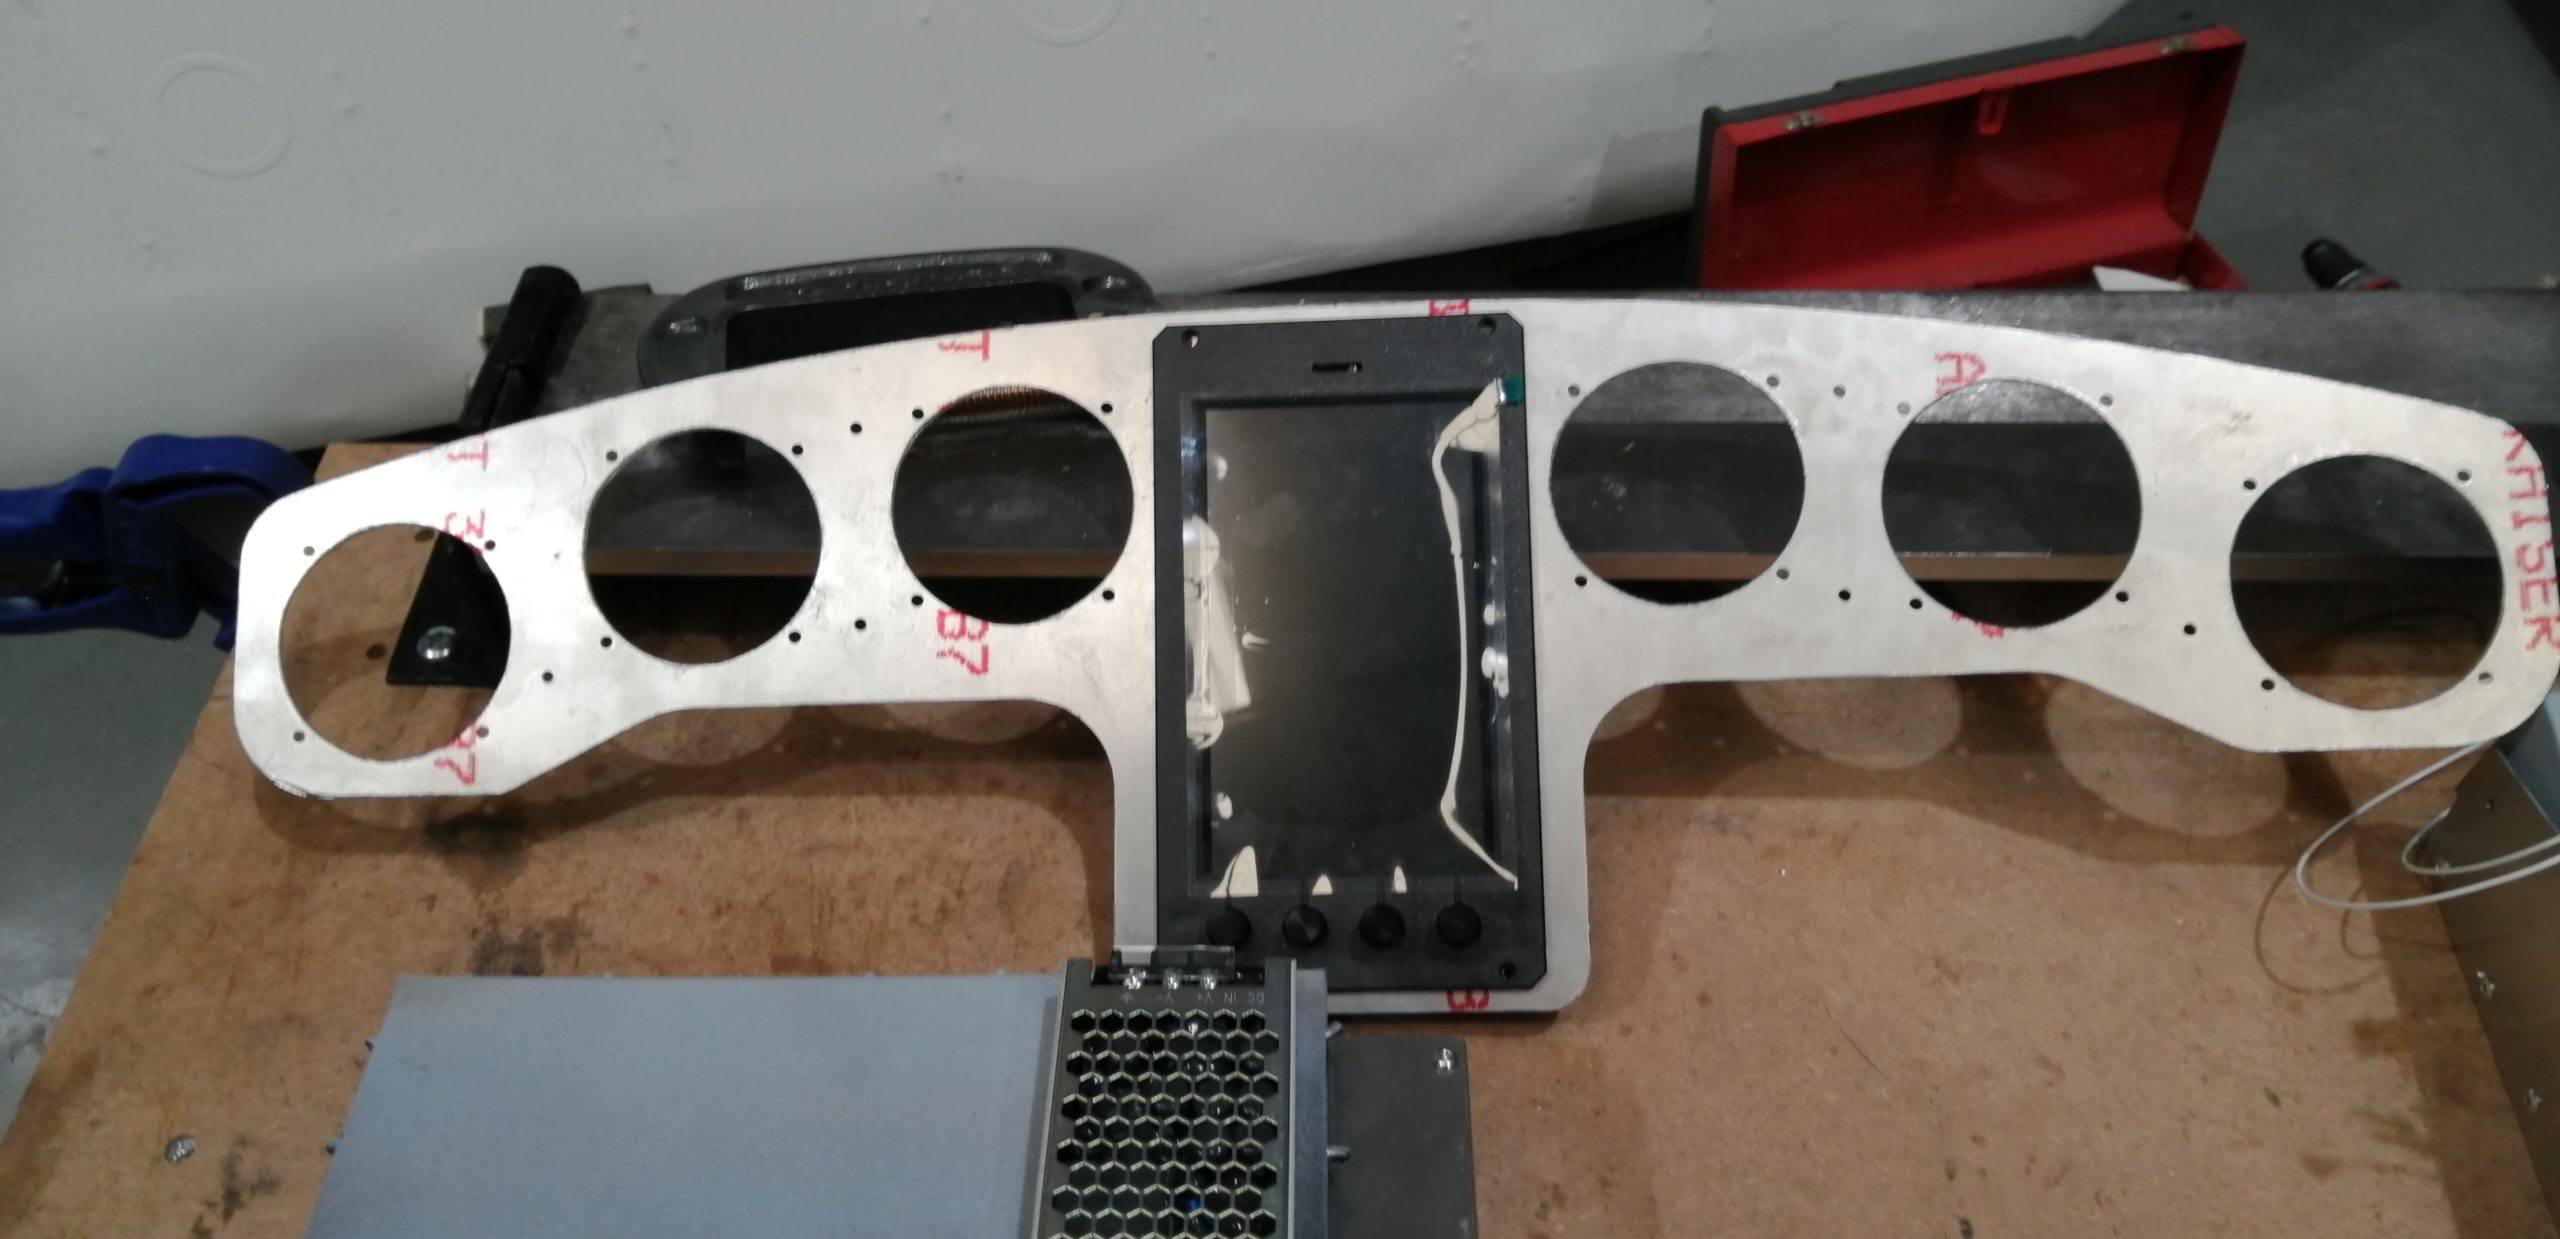
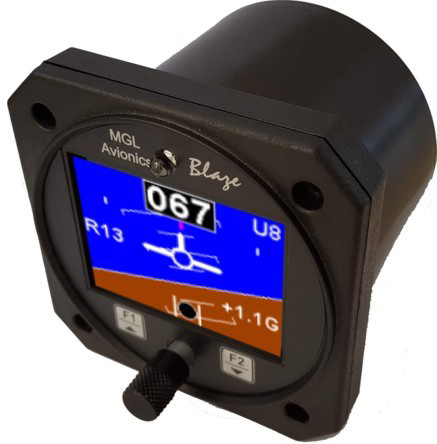
First up was the shock mount which has the multi-function display in the middle. I’m trying to keep the spirit of the original panel while adding the safety of engine monitoring and electronic AHRS. While I’m using it as an MFD, the unit (MGL iEFIS MX1) is actually a full EFIS with primary flight display, engine management and even an autopilot. The beauty of this unit is the level of configuration possible for the screens. I have designed several custom screens and started work on interactive checklists.
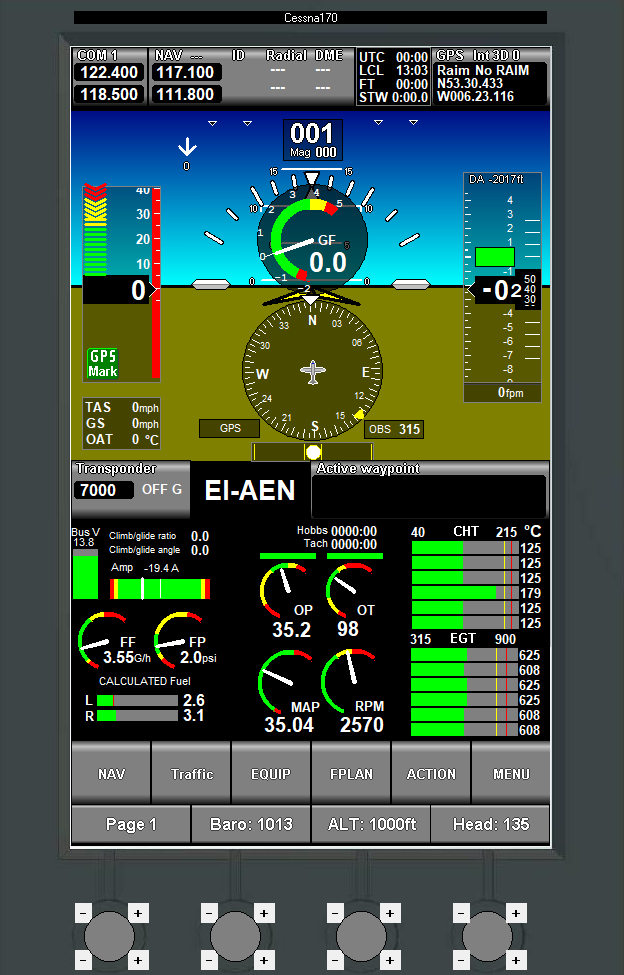
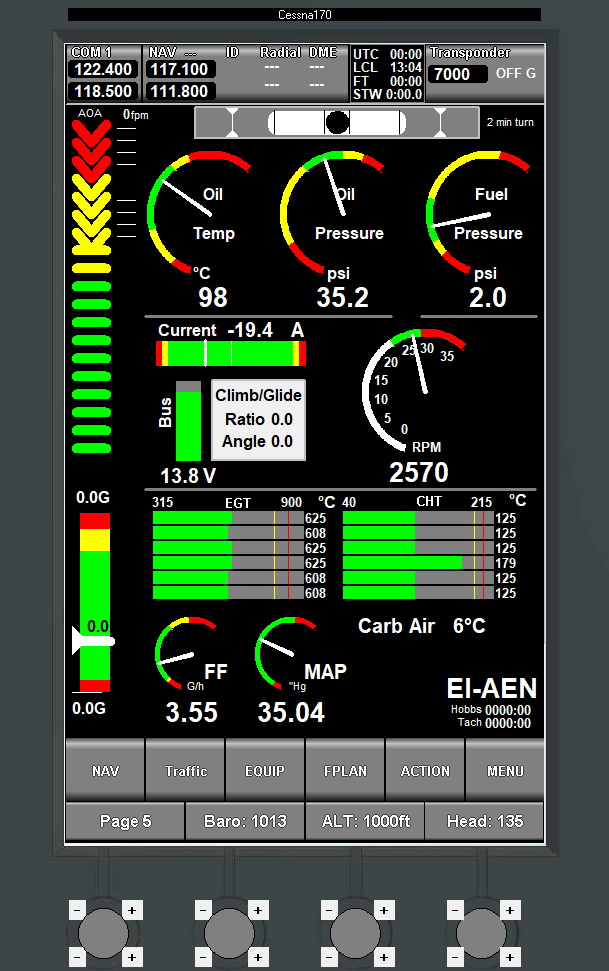
This is the stock Primary Flight Display Screen. It packs a lot onto a small screen and is not how I intend to use it. The checklists are able to show the relevant data directly on the list. The fuel level is manually entered at the start of the flight (as the tanks don’t have electronic sensors and I’m not opening the wings). The system then uses flow rate to calculate and display the remaining fuel in real-time.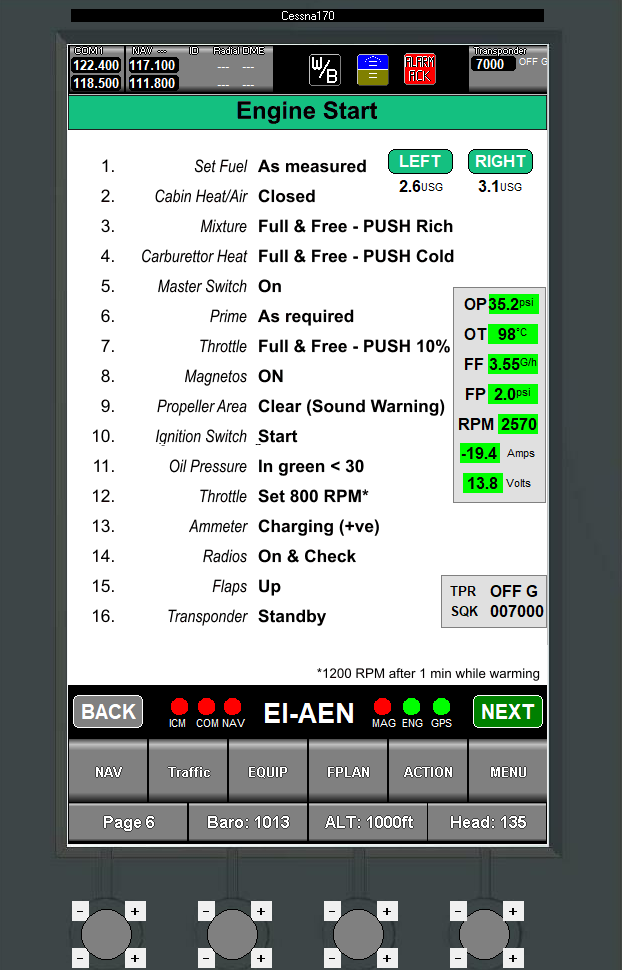
The shock mount below is ready for paint.
From left to right will be: Airspeed, AHRS, Altimiter, EFIS, VSI, DI/AHRS (backup function), RPM (Tach). So if the 6-pack is supposed to be in front of the Pilot this is missing VSI, DI and Slip/Skid. However, the AHRS has the DI built in, so heading is shown on the DI. Thus all that’s missing is VSI and skip/skid.
The iEFIS let me build a screen that has all the engine management display, the VSI, slip-skid, AOA, and G-meter so rounding out and exceeding the 6-pack, while also allowing me to control the COM, NAV, and Transponder from the top bar of the screen.
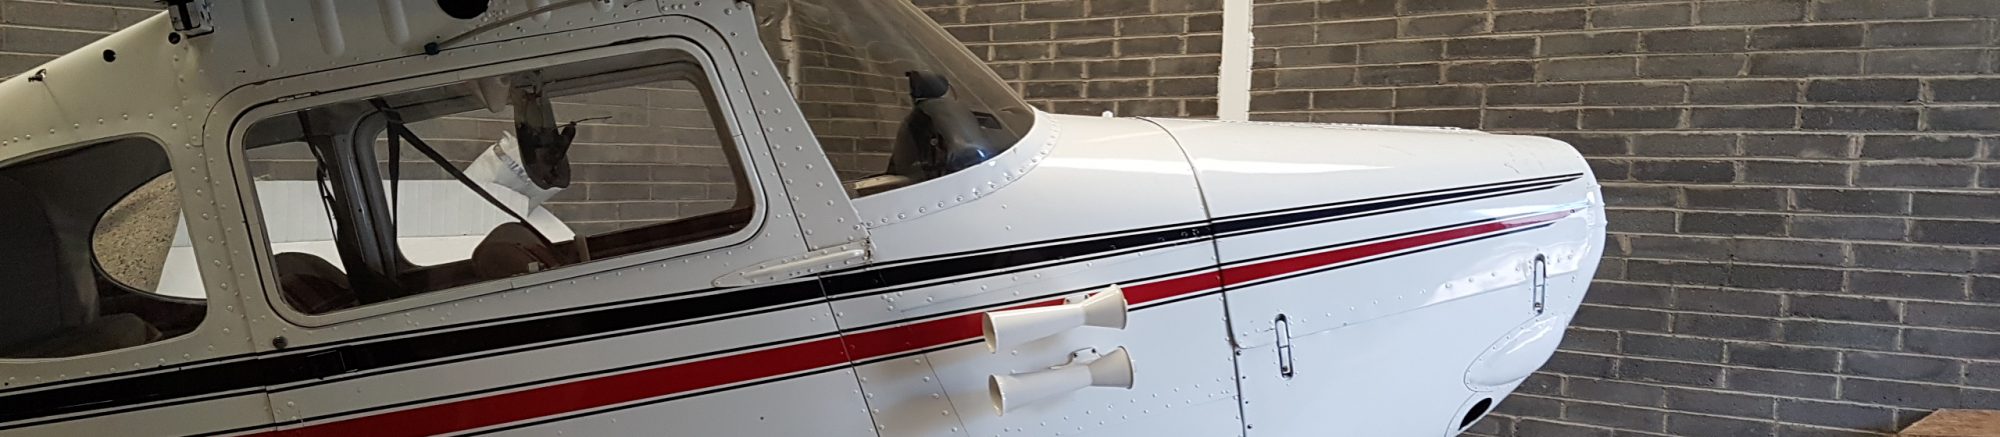
All of that shock-mounts into the panel below which retains the piano keys and hides the fuse panel behind the glove-box door. The slot on the left is for my glasses and the (backup) paper chart I don’t tend to look at as I mount SkyDemon on an 8″ tablet on the yoke.
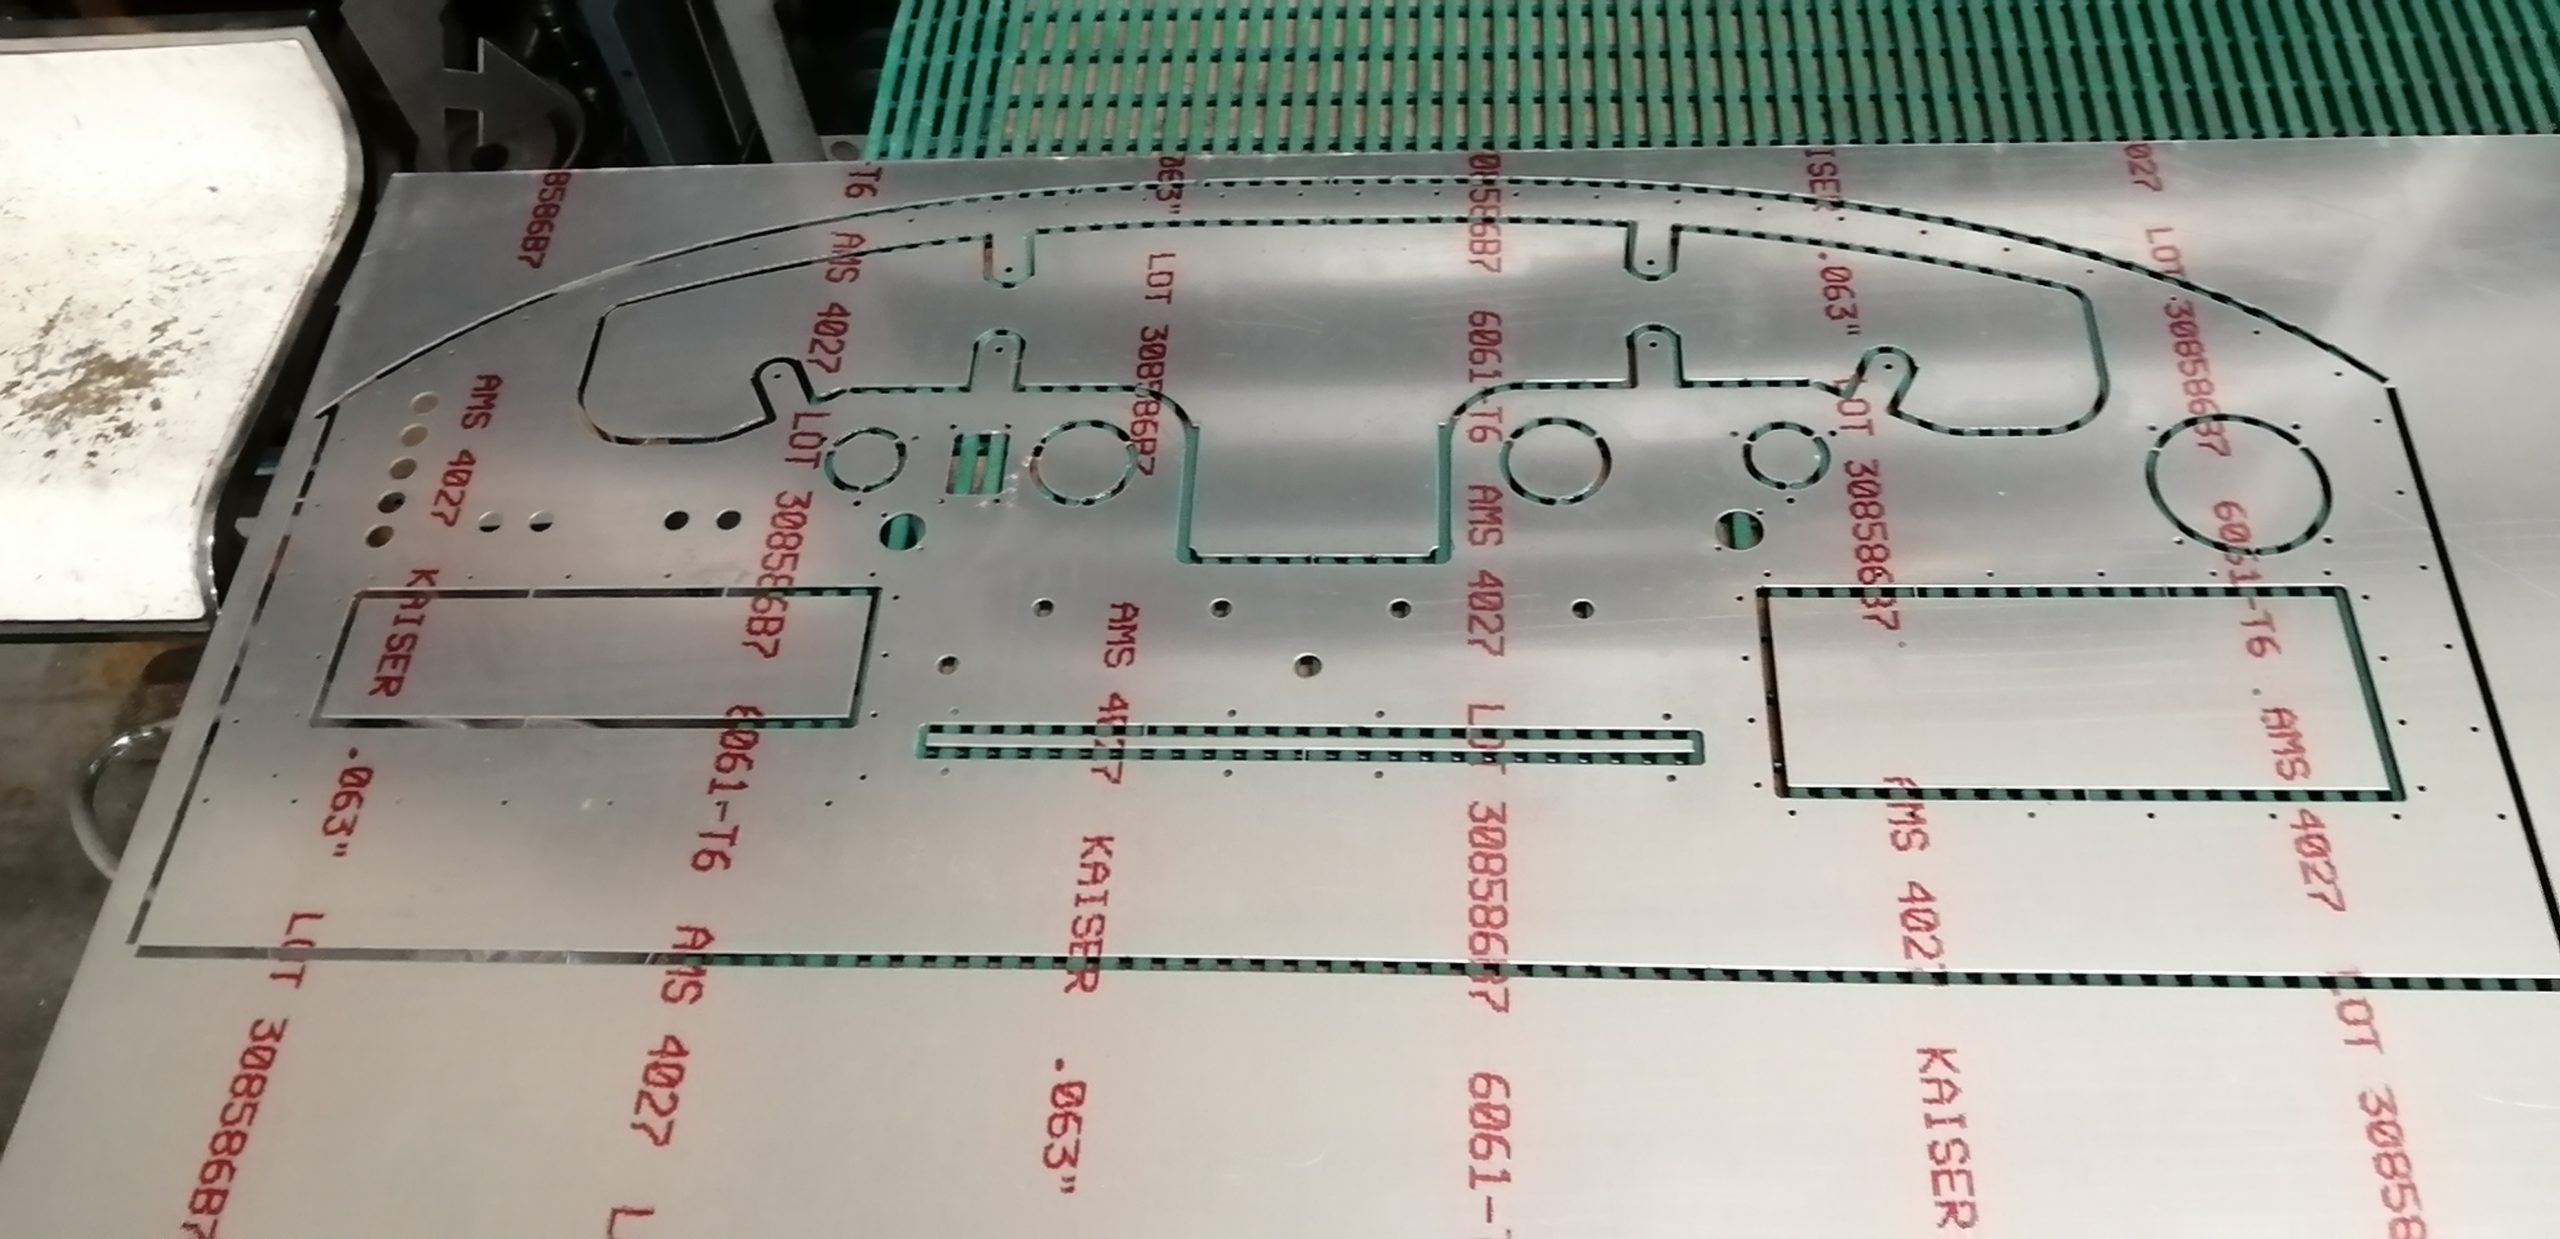
The punch press “nibbles” the shapes using various round and rectangular punch and die pairs. There was quite a bit of filing and sanding to do to finish it up. It certainly beat hand cutting it!
The result so far is shown below with the piano keys test fit.
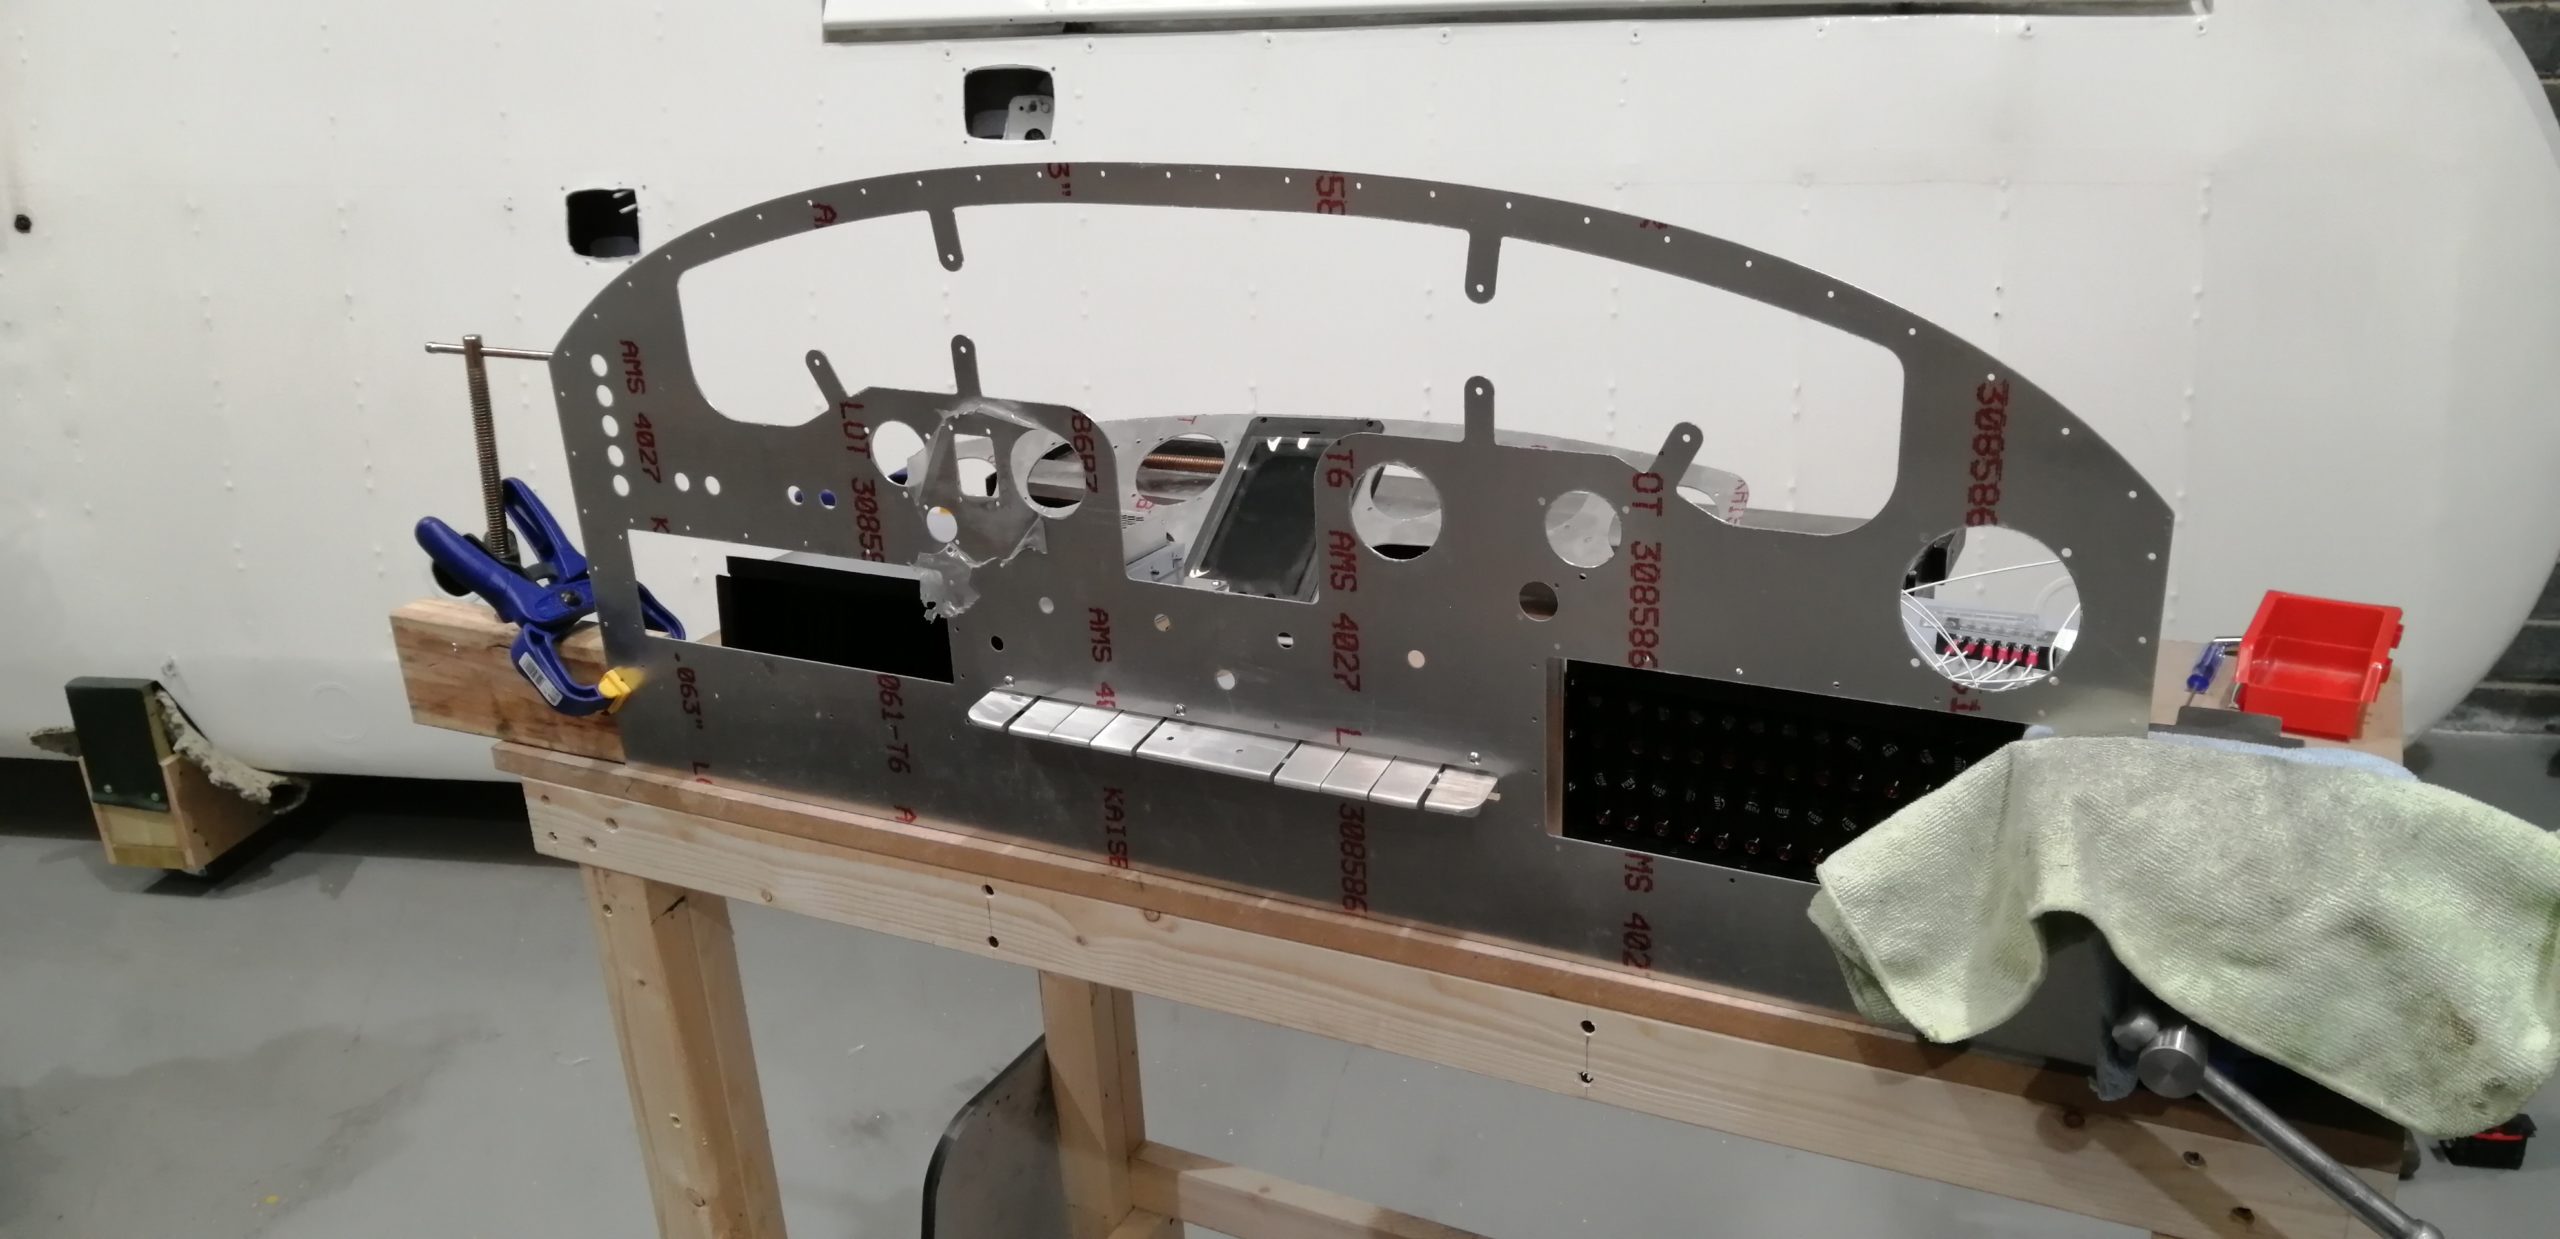
If the panel looks too deep (tall), that’s because it is. There are two bends to be made along the bottom to reinforce by forming a u-channel along the whole bottom of the panel. The shock mounting points (tabs) need to be folded also. That’s beyond what I can do here, so it should be done some evening this week at Watermark.
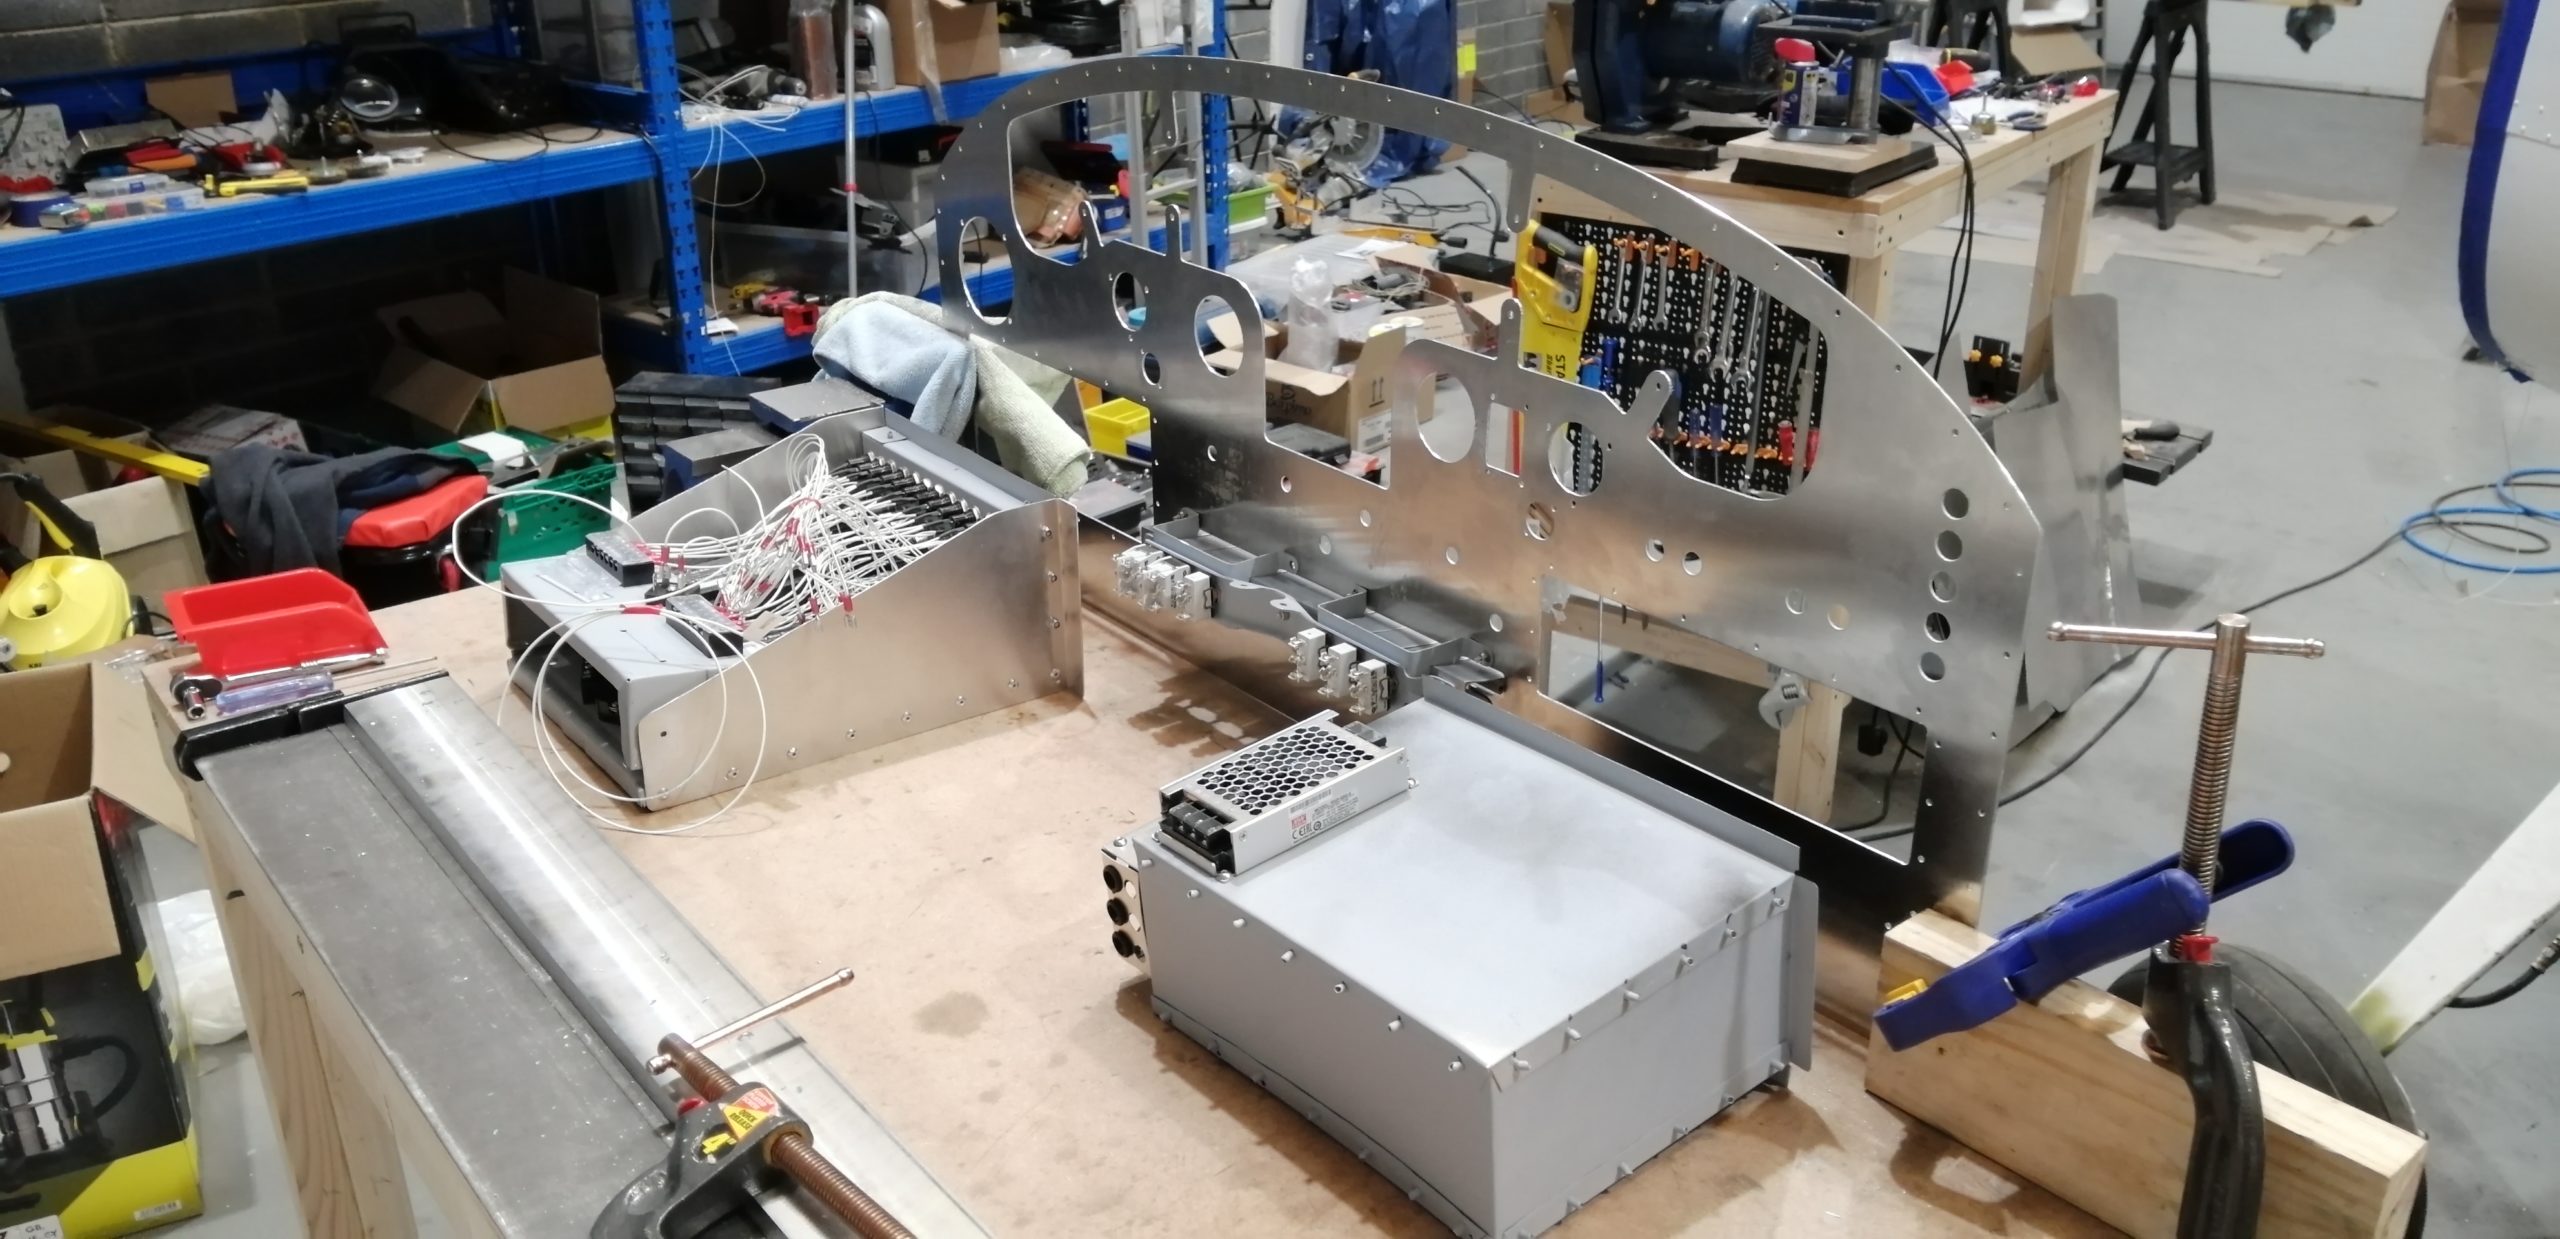
From the back you can see the rebuilt piano key mount with new switches and the (seriously overbuilt) electrical system. Attached to the map box are a stratux (ADSB-in) and 5V power supply for 5 USB charging points to power cameras and tablets. Of course that’s about as tidy as it is ever going to look as the wiring will be a bit of a mess. Have to finish up the folding and painting before I get to that point.
Work Date: 6th June 2020
Hours: 30
Aircraft Section: Panel